
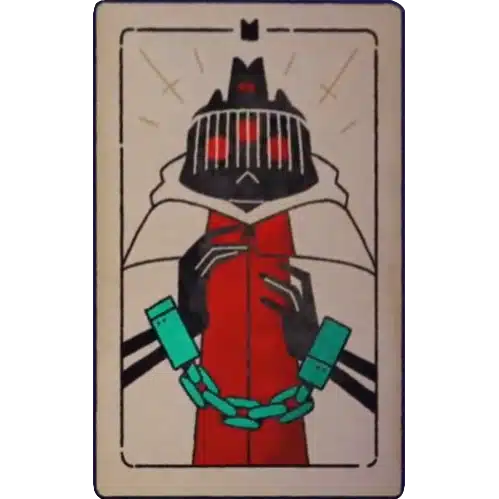
The god who resurrected the Lamb, Narinder is the imprisoned Death Bishop and the final boss of the Crusade.
The One Who Waits is the voice that brought the Lamb back to life, and the final boss who tries to take that life back. Narinder spends the whole game as your patron, then turns on you the moment his chains break.
He is the fifth sibling, the god of Death, and the original holder of the Red Crown the Lamb now wears. Per the wiki, his four siblings, the Bishops of the Old Faith, imprisoned him in his Prison in The Gateway and cast out his crown as heresy.
His boss fight is built entirely around his eyes. The fight opens with three of them attacking in unison while Narinder stays silent, and it only grows more dangerous as each eye is destroyed and the survivors speed up.
This guide covers who Narinder is, the betrayal that starts the fight, his health, the three-eyed phase structure and its fireball patterns, and how he ties back to Leshy, Heket, Kallamar, and Shamura.
Narinder, the god of Death, the imprisoned fifth sibling who revived the Lamb.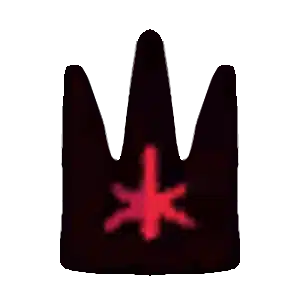 The final boss. Three eyes attack first; as each is destroyed the rest speed up and Narinder joins in.
 Focus one eye at a time. Dealing enough damage makes an eye hide; staggering them controls the projectile load.
 He wants the crown back. Freeing him is the betrayal that triggers the boss fight.
The One Who Waits is Narinder, the god of Death and the fifth of the sibling deities. Per the wiki he was once a Bishop and the Vessel of the Red Crown, before his four siblings chained him in The Gateway.
He is the engine of the entire game. According to the wiki his four siblings, 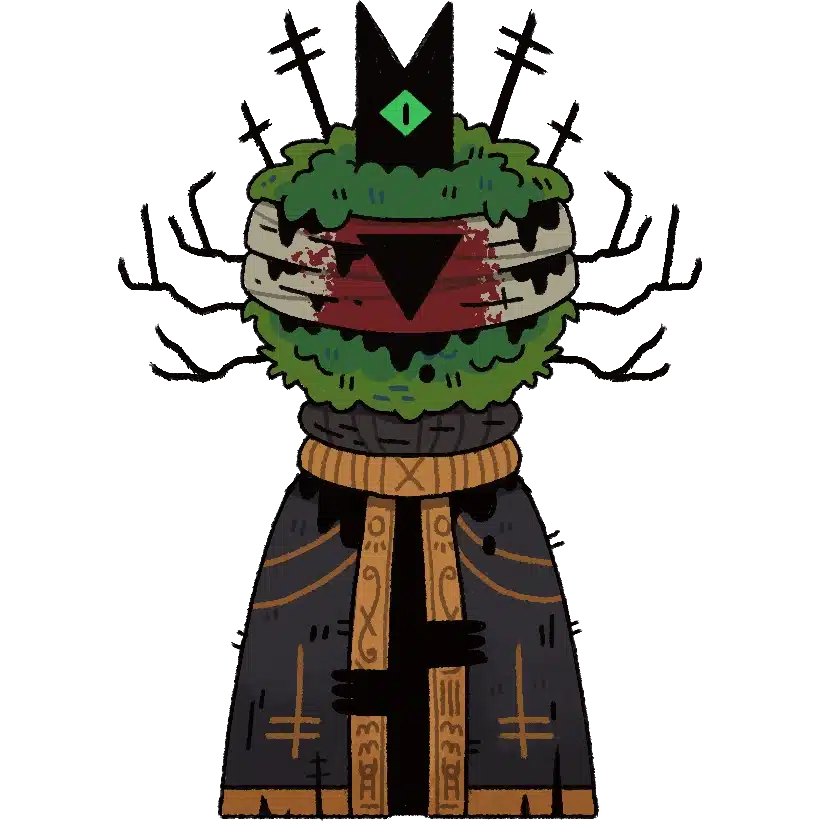 Leshy,
 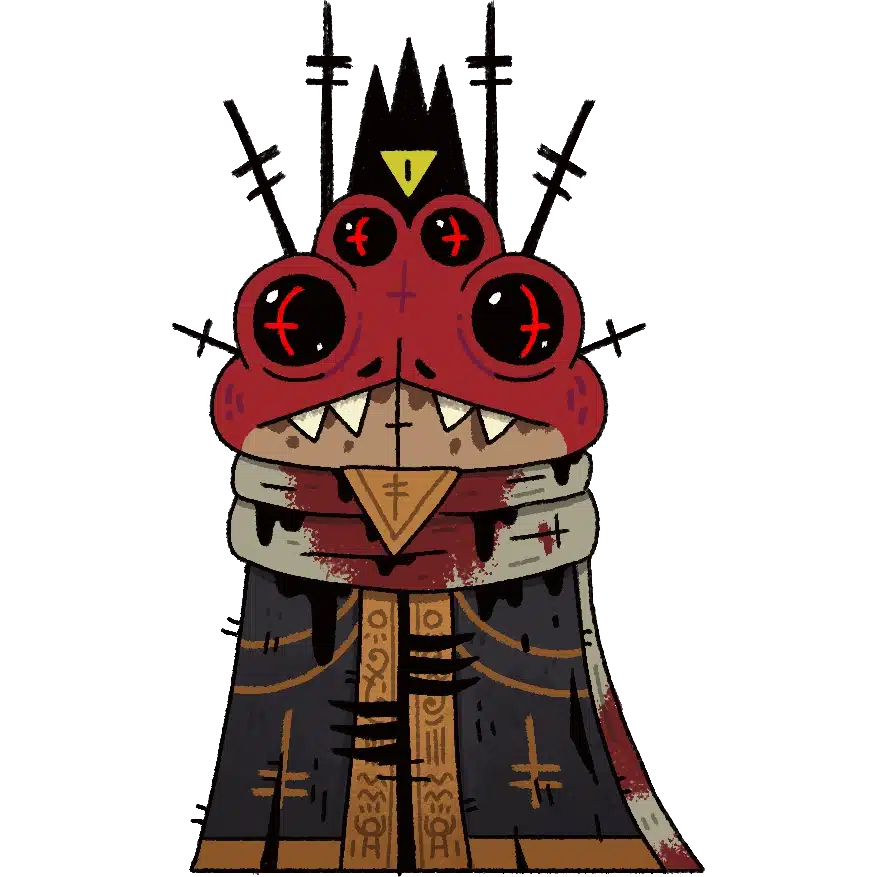 Heket,
 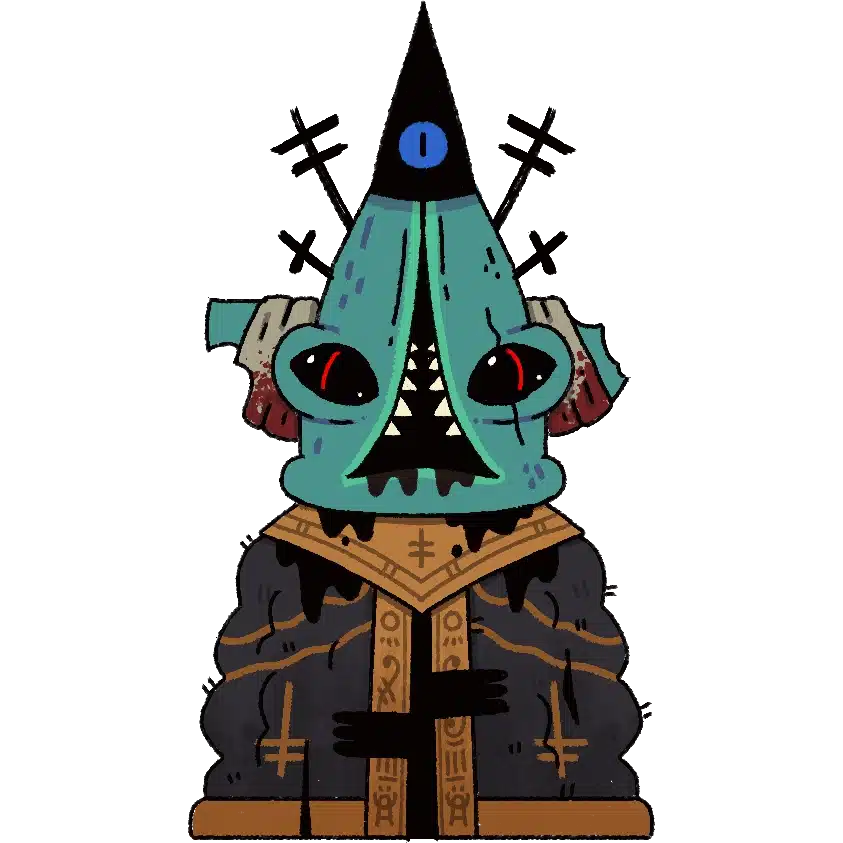 Kallamar, and
 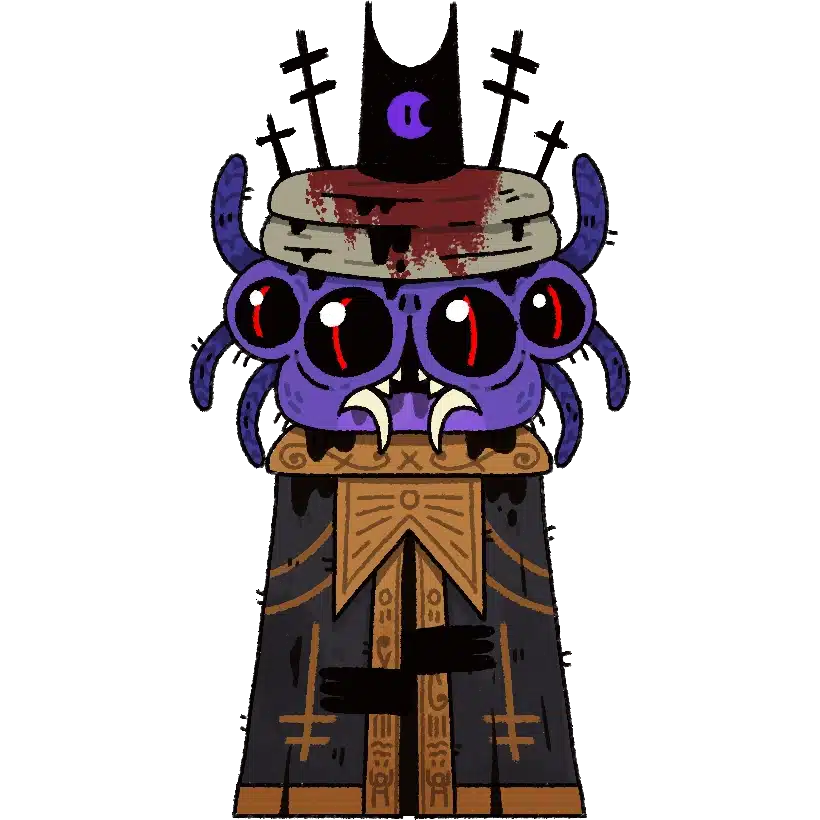 Shamura, cast out the Red Crown and imprisoned him. He revives the dying Lamb, hands over the crown, and sends it to kill the four in exchange for his freedom.
His relic is part of his own body. The wiki notes that Narinder's claw was torn off during his fight with the Bishops, and that he has clung to it ever since. He even has his own metal track, fittingly titled "DEATH," matching the Pestilence and other songs tied to each sibling.
The fight happens at Narinder's Prison in The Gateway, after the Lamb has killed all four Bishops. Freeing him is the trigger; the god of Death immediately moves to reclaim the Red Crown and the power the Lamb has been carrying.
His health sits in the middle of the boss roster, not the top. The wiki specifies 85 on Easy, 170 on Normal, 212.5 on Hard, and 255 on Extra Hard, lower than Kallamar or Shamura. The challenge is his attack density, not a huge health bar.
| Difficulty | Narinder health |
|---|---|
| Easy | 85 |
| Normal | 170 |
| Hard | 212.5 |
| Extra Hard | 255 |
Bring everything the Crusade gave you. In practice, this is the fight to spend your best Tarot, your strongest weapon, and any saved healing on, because it is the wall the entire run has been building toward.
Narinder's fight is structured around his three eyes, and the phases are named for how many remain. According to the wiki, the eyes do the early work while Narinder himself stays passive, then he joins the attack as the eyes fall.
The first phase opens with three slow eyes attacking in unison with slow projectiles, and the wiki notes Narinder does not attack at all yet. Dealing enough damage to one eye makes it hide; once all three have hidden, they emerge again. Their attacks include a continuous fireball stream, a Beam Fireball Pattern where they close and then pour fire on reopening, a conjured fireball circle, and a Poison Projectile Scatter.
At about two-thirds of his health, the wiki says one eye explodes and the other two briefly hide before returning faster. The remaining eyes move quicker, attack with less delay, and fire faster projectiles, and Narinder finally starts attacking himself. His own moves include a Triple Undulating Beam Fireball Pattern, sticking both hands to the sides to fire three continuous streams with gaps you can slip through, and a radial slam that launches fireballs outward from his chest.
As the last eyes fall, the pressure peaks. Narinder and the surviving eye attack together at their fastest, layering his hand patterns over the eye's fireballs. This is the stretch the whole run prepares you for, and the one where a single greedy moment ends the attempt.
Stagger the eyes instead of ignoring them. The wiki notes that dealing enough damage to an eye makes it hide, which cuts a source of projectiles for a few seconds. Focusing one eye down at a time keeps fewer attacks on screen than spreading chip damage across all three.
Beat Narinder by controlling how many eyes are active and dodging through his readable gaps. His health is modest, so the fight is a dodging test, not a damage race, and the win comes from never eating an avoidable hit.
Your best single-target weapon (burst one eye at a time to make it hide) A reliable ranged Curse (hit eyes from safe distance during fireball walls) Eyes, then Narinder (fewer active eyes means fewer projectiles) Everything you saved (best Tarot, healing, and damage for the final wall)Per the wiki, his Triple Undulating Beam Fireball Pattern has numerous blindspots and is "easy to avoid," but the eyes can fire at the same time. The real danger is the overlap, so always know where the eye projectiles are before you commit to dodging Narinder's streams.
Pace your damage to the eye states. After a few runs the rhythm is clear: burst an eye until it hides, reposition through the radial slam, then return to the next eye. Trying to damage Narinder's body while all three eyes are active just floods the screen with fire.
Narinder is the reason the Lamb fights at all, and the four Bishops are the price of his freedom. Each guarded a colored crown and a region, and the Lamb works through them one by one before the betrayal in The Gateway.
The four siblings escalate in order.  Leshy opens in Darkwood,
  Heket follows in Anura,
  Kallamar spikes the difficulty in Anchordeep, and
  Shamura closes the set in the Silk Cradle.
Their crowns are the heresy Narinder once led. With all four Bishops dead and the god of Death beaten, the Red Crown finally belongs to the Lamb alone. See the full Bishops of the Old Faith order for how the whole Crusade builds to this fight.
Narinder is the wall the whole Crusade builds toward. These guides cover the weapons, Curses, and cards worth saving for the final boss.
Game data and screenshots adapted from cult-of-the-lamb.fandom.com, used under CC BY-SA 3.0. Original content remains the property of the wiki contributors and Massive Monster and Devolver Digital.