The Desolate Dive upgrade. 60 damage across dive plus two shockwaves, 0.4 second i-frames, hidden on a snail shaman corpse in the Crystallised Mound.
Descending Dark turns a defensive spell into a 60-damage burst with 0.4 seconds of invincibility built in. Per the wiki, the upgrade adds a second shockwave that ripples up from the slam point, raising the single-cast damage from 35 on Desolate Dive to 60 or 65 (the left half of the first wave lands 35, the right half 30).
According to the wiki, the spell lives on a snail shaman corpse inside the Crystallised Mound, the tucked-away chamber on the east side of Crystal Peak. The Lumafly Lantern is recommended for the dark corridors leading in; without it, the Knight jumps blind across spike beds and tends to die on the approach.
The wiki notes the 0.4-second i-frame window is the real reason spell builds run this spell over forward burst. Casting Descending Dark just before a Pure Vessel cross-slash or a Watcher Knight slam cancels the incoming hit; spell-economy charms refill the SOUL pool fast enough to chain casts as a survival rotation, not just a damage rotation.
This guide covers the 60-damage asymmetric burst, the +47% Shaman Stone scaling, the Crystallised Mound pickup route, the i-frame chain rule (double casts cancel the prior window), the Great Hopper Colosseum kill shortcut, and how Descending Dark stacks against the Abyss Shriek and Shade Soul spell upgrades.
Desolate Dive upgrade; 60 dmg downward burst with 0.4s i-frames. Crystallised Mound; on a snail shaman corpse, Lumafly Lantern recommended.
 Shaman Stone (+47%) lifts the cast from 60 to 88 damage.
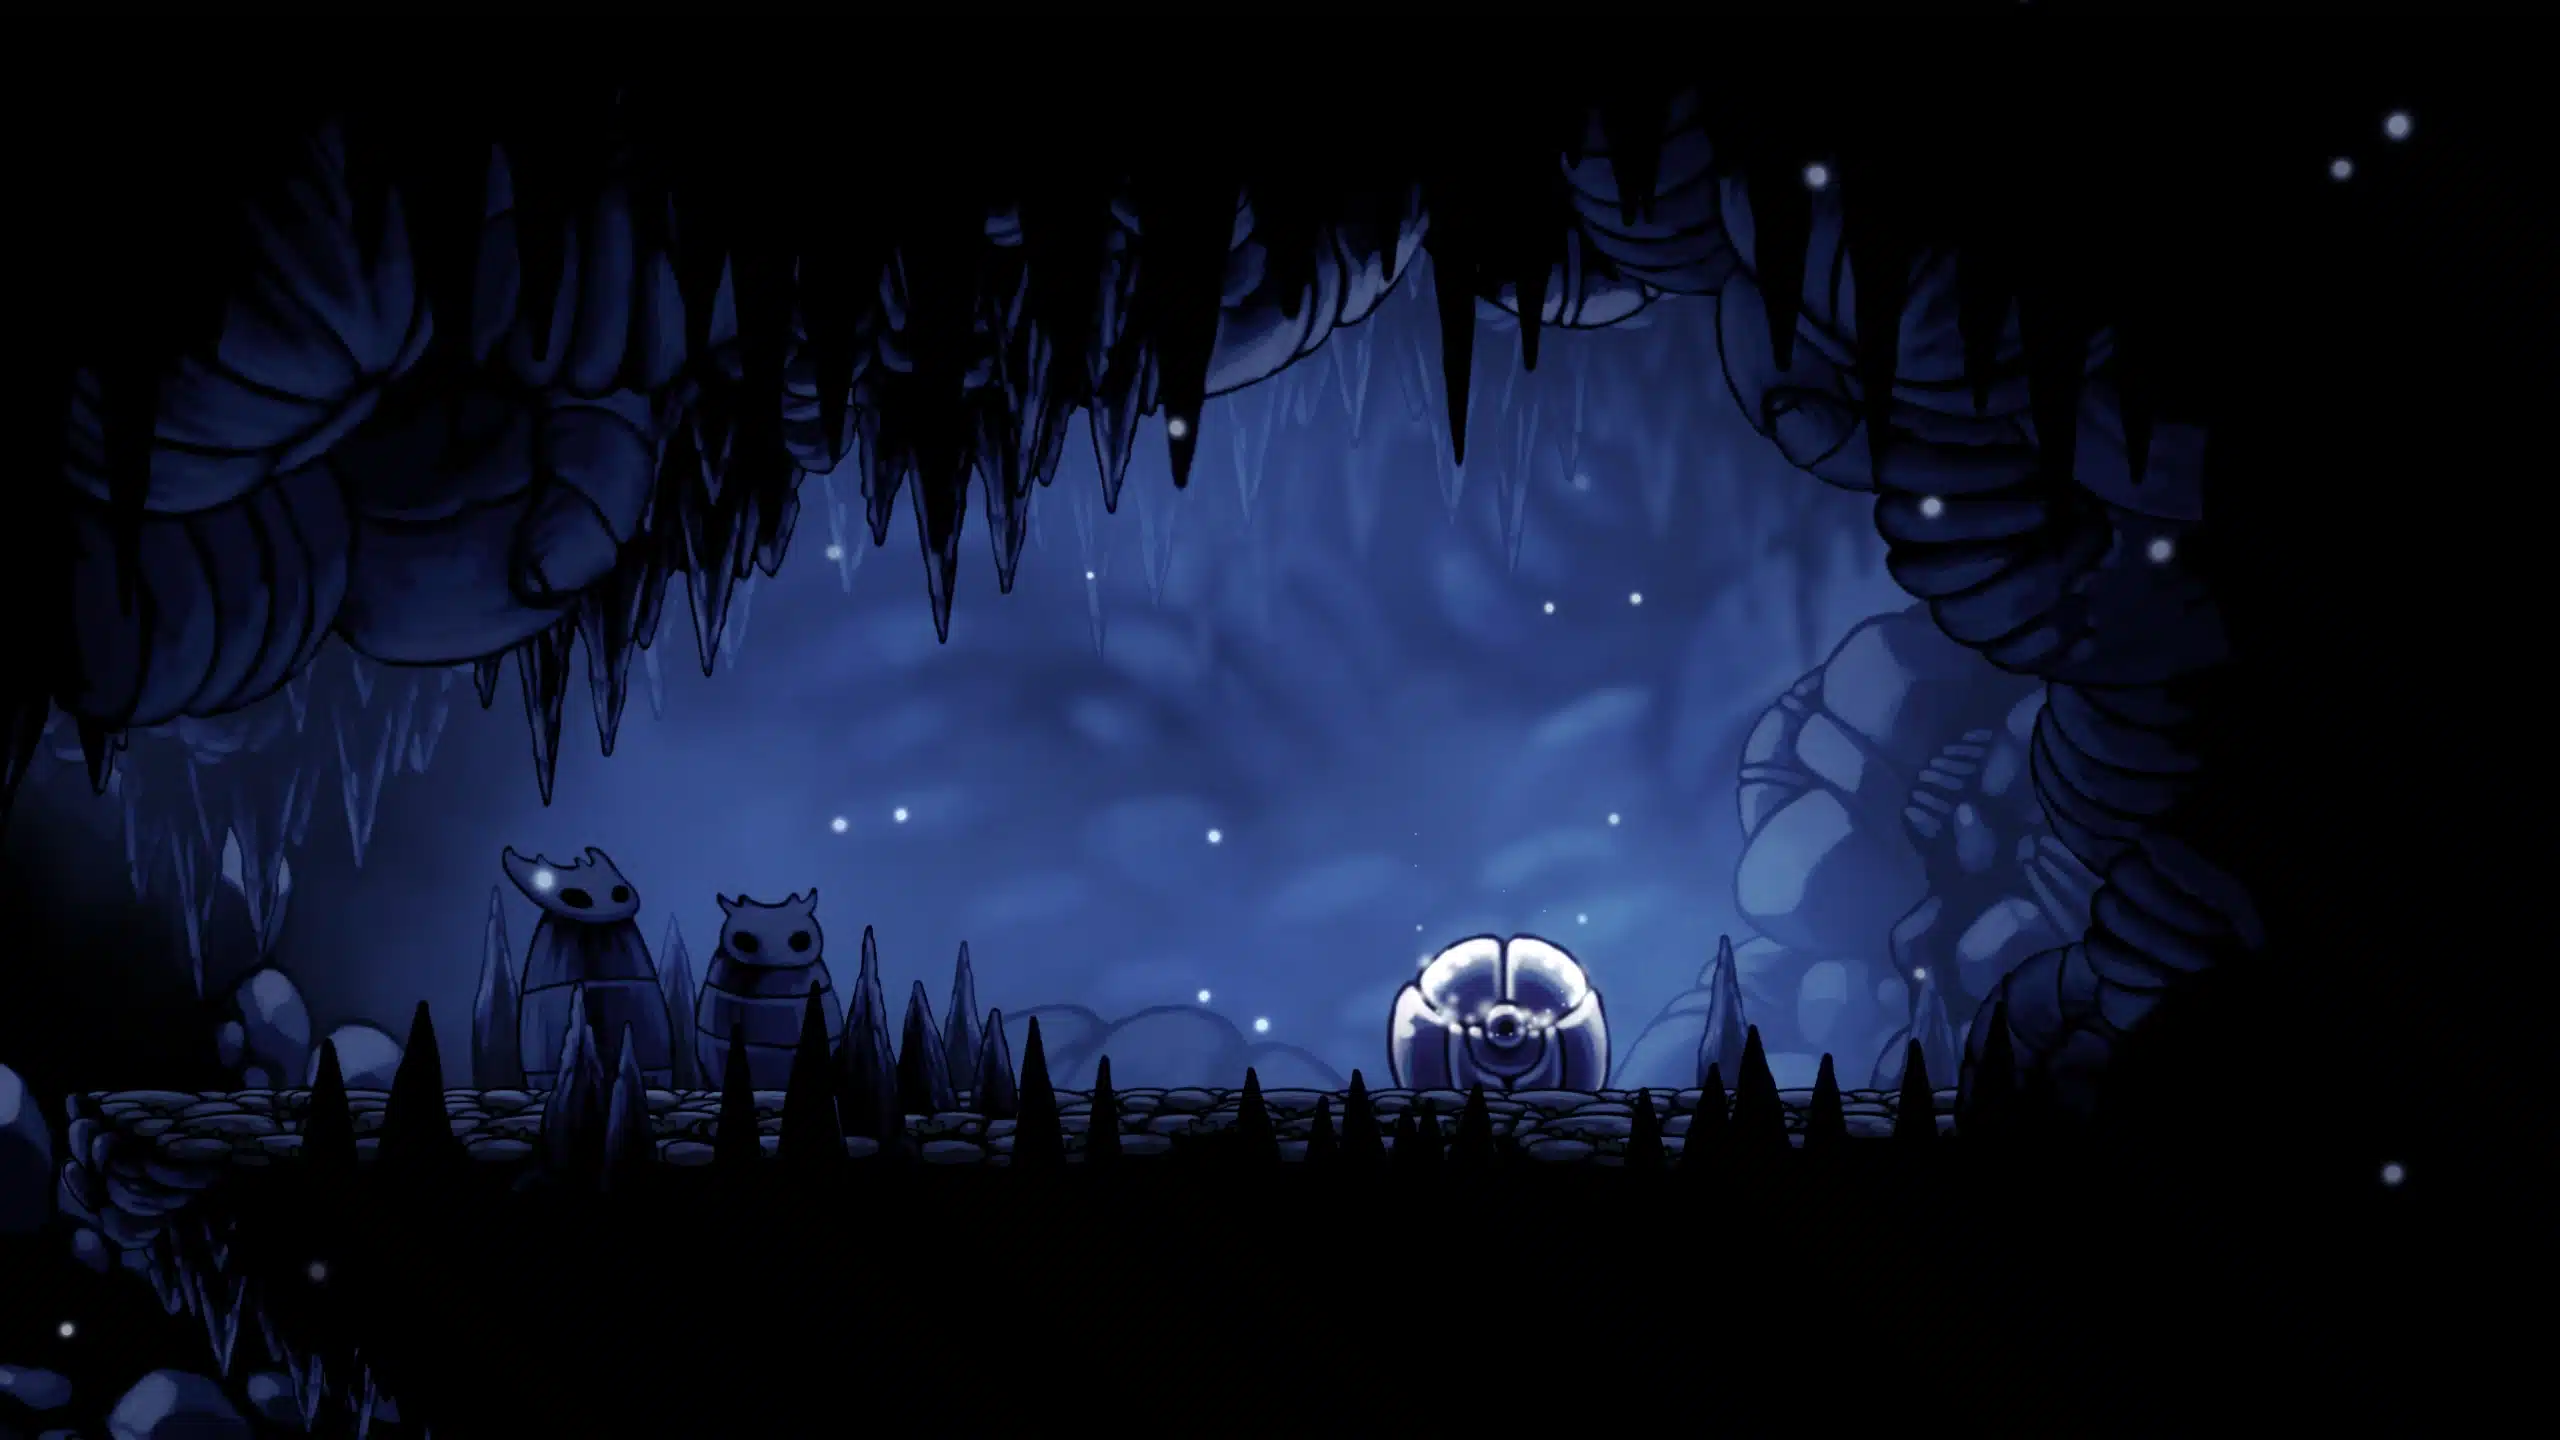 Great Hopper kills; the burst clears the Trial of the Conqueror miniboss wave.
Hold DOWN and press FOCUS or CAST to slam the Knight straight down. Per the wiki, the dive itself deals 15 damage on impact, then two shockwaves spread out and up from the landing point: the first burst hits for 35 on the left half and 30 on the right, and a second burst follows for 15 damage on either side. Maximum single-cast output is 60 or 65 damage.
According to the wiki, the second shockwave is the upgrade over Desolate Dive. Base Desolate Dive fires one shockwave for 20 damage; Descending Dark splits that into a stronger first wave and adds the second burst. The shockwaves cover a wider arc and reach further up than the base spell, which the wiki credits for the +43% effective damage uplift on grouped enemies.
The wiki specifies the spell also breaks the same set of fragile floors as Desolate Dive (Soul Sanctum exit, Crystal Peak entry from Resting Grounds, Crown Summit drop, Hallownest Crown ascent). The traversal use case carries over; the upgrade does not change which floors are breakable, only how much damage the cast deals.
Cast in mid-air for the same i-frames as ground casts. Per the wiki, the 0.4-second invincible window starts on input, not on landing; jumping into a slam against a tank boss like Markoth gives the same defensive window as a grounded cast and positions the Knight closer to the next combo opportunity.
| Stat | Value |
|---|---|
| SOUL cost | 33 (24 with Spell Twister) |
| Dive damage | 15 |
| Shockwave 1 (left) | 35 |
| Shockwave 1 (right) | 30 |
| Shockwave 2 | 15 (per side) |
| Max total damage | 60 or 65 (depending on side) |
| Shaman Stone total | 88 (+47% scaling) |
| i-Frame window | 0.4 seconds (during and after) |
| Direction | Down (slam) + up/out (shockwaves) |
| Cast input | DOWN + FOCUS / CAST / QUICK CAST |
| Source spell | Desolate Dive (overwritten on upgrade) |
| Source | Crystallised Mound, Crystal Peak |
According to the wiki, the +47% Shaman Stone scaling is mid-tier across the spell line. Vengeful Spirit and Shade Soul scale at +33%; Howling Wraiths and Abyss Shriek scale at +50%; Desolate Dive and Descending Dark sit between at +51% and +47% respectively, since the modifier rounds across multiple damage sources.
Descending Dark sits on a snail shaman corpse inside the Crystallised Mound, a small chamber on the far east side of Crystal Peak. Per the wiki, the Lumafly Lantern is recommended for the approach; the corridor leading in has multiple dark sections where unlit jumps land on spike beds.
 Per the wiki, defeating Soul Master grants Desolate Dive as the base spell. Descending Dark is the upgrade on top, so the Soul Master fight is the spell-line prerequisite.
 Per the wiki, the lantern costs 1,800 Geo at Sly’s shop in Dirtmouth (via the Shopkeeper’s Key). The wiki notes the lantern lights dark corridors in Crystallised Mound, Deepnest, and the Howling Cliffs pickup chambers; carrying it before the Mound run saves multiple deaths.
The 0.4-second invincibility window is the spell’s defining feature. Per the wiki, the Knight is invincible for the full 0.4 seconds during and after the cast, which cancels any incoming damage that lands inside the window. The cast input is the trigger; landing on the ground is not required.
According to the wiki, chaining casts in quick succession cancels the prior window. The 2nd cast starts a fresh 0.4-second window but overwrites whatever time remained on the first one; back-to-back casts at < 0.4s spacing leave gaps in practical invincibility. Spell-build speedruns time casts at exactly 0.4 seconds apart for the longest continuous i-frame chain.
The wiki notes the i-frame chain is the spell’s home turf against multi-hit attacks. Pure Vessel’s cross-slash hits twice in quick succession; Watcher Knights tag twice on their drop-and-slam combo; Markoth’s ring slam fires three projectile waves before the next gap. Each of these dies inside one Descending Dark cast.
The i-frame trigger is on INPUT, not on landing. Pressing DOWN + CAST mid-air starts the invincibility window during the falling animation, not when the Knight hits the ground. Players who wait to land before casting waste the first ~0.2 seconds of the window and eat incoming hits the cast was meant to dodge.
Descending Dark trades raw damage for defensive uptime. Per the wiki, Abyss Shriek deals 80 damage in a single cast and Shade Soul deals 30 in a forward projectile; Descending Dark caps at 60 damage but adds the i-frame chain that neither competitor offers.
| Spell | Direction | Damage | i-Frames |
|---|---|---|---|
| Descending Dark | Down + shockwaves | 60-65 | 0.4s |
| Abyss Shriek | Up + around | 80 (4 bursts) | None |
| Shade Soul | Forward | 30 | None |
| Desolate Dive | Down + shockwave | 35 | 0.4s |
| Howling Wraiths | Up + around | 39 (3 bursts) | None |
| Vengeful Spirit | Forward | 15 | None |
According to the wiki, the optimal spell rotation in late-game Pantheon runs uses Abyss Shriek for damage and Descending Dark for survival. Players who use only one of the three spells leave either DPS or defense on the table; the three-spell rotation is the spell-build meta.
The wiki specifies that Descending Dark is also the only spell that doubles as a traversal tool. The breakable-floor mechanic opens shortcuts the other five spells cannot access, including the Crystal Peak fast-travel route, the Hallownest Crown ascent path, and the Soul Sanctum exit drop.
The defensive spell-build slots Descending Dark alongside its damage partner Abyss Shriek and the SOUL-economy charm spine. Per the wiki, the 11-notch core looks like this.
Shaman Stone (+47% on Descending Dark; 3 notches) Soul Eater (+8 SOUL per nail hit; 4 notches)
According to the wiki, this configuration delivers 88-damage Descending Dark casts at 24 SOUL each, which the hit-cast loop refills nearly per nail hit. Players who prioritize defense over damage sometimes swap Shaman Stone out for Quick Slash (faster nail to recover SOUL faster) and accept the 60-damage cap.
The wiki notes that pairing Hiveblood with Descending Dark turns the spell into a no-Focus sustain rotation: the i-frame cast cancels incoming damage, Hiveblood regens the last Mask lost in the air, and the Knight never needs to stand still to heal. This is the canonical Colosseum of Fools loadout for Trial of the Conqueror.
Descending Dark ties to the spells directory, the Desolate Dive prerequisite, the Soul Master unlock fight, the Colosseum kill spot, and the Abyss Shriek damage partner. These spokes pick up the threads.


Game data and screenshots adapted from hollowknight.fandom.com, used under CC BY-SA 3.0. Original content remains the property of the wiki contributors and Team Cherry.