

The only ranged weapon in the game and the only one with ammo, dealing brutal point-blank damage that pierces every enemy in a line.
The blunderbuss is the one weapon that lets you kill without ever getting close, and it hits hardest when you do. Its shots pierce every enemy in a line, so a single blast can clear a whole row of foes at once.
It is also the only weapon with an ammo system. According to the wiki, the blunderbuss carries three to five shells that slowly reload while you hold fire, which changes how you pace a fight compared to any melee class.
Its damage scales with positioning. The wiki notes it deals insane damage up close while still reaching across the room, so the blunderbuss rewards knowing exactly when to close the gap.
This guide covers how the blunderbuss and its ammo work, every variant and how to unlock it, and the legendary Fate of Plimbo the First.
The only ranged weapon, with a 3 to 5 shell ammo system. Godly Blunderbuss, the highest base damage in the game.
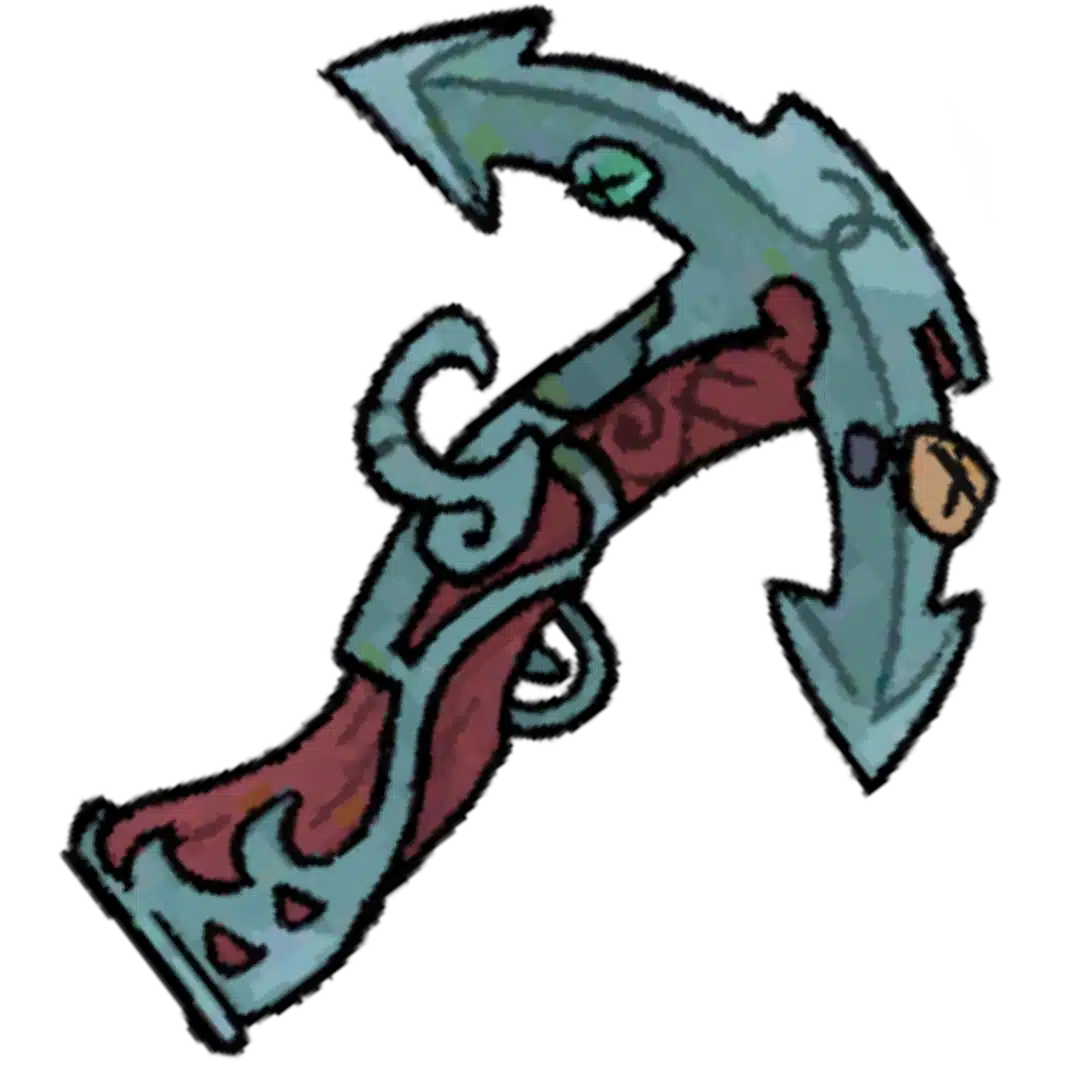 Fate of Plimbo the First, which fires three projectiles at once.
 You hate managing ammo, the class's one demand.
The blunderbuss is the game's only ranged weapon, and it trades a melee combo for piercing shots. Per the wiki, its bullets pass through everything in the line where the Lamb is standing, letting one shot hit several enemies at once.
Its damage is distance-based, but not how a shooter usually works. The wiki states the blunderbuss deals insane damage up close and lighter damage at long range, so the strongest shots come from stepping into an enemy right after they attack.
Then there is the ammo. It is the only  weapon with shells to track, holding three to five that refill over roughly three seconds while you are not firing.
Every blunderbuss shares the ranged, piercing profile and layers a different effect on top. According to the wiki, the variants unlock through  Doctrines as you level Sermons, exactly like the melee classes.
| Blunderbuss | Unlock | Effect |
|---|---|---|
| Mayhem's Cannon | Default | The base ranged weapon, 12 base damage. |
 Bane Blunderbuss Bane Blunderbuss | Bane Weapons (Sermons) | Chance to poison enemies on hit. |
 Vampiric Blunderbuss Vampiric Blunderbuss | Vampiric Weapons (Sermons) | Chance to heal from a slain foe. |
 Necromantic Blunderbuss Necromantic Blunderbuss | Necromantic Weapons (Sermons) | Killing a foe summons an attacking ghost. |
| Merciless Blunderbuss | Merciless Weapons (Sermons) | Chance to land a critical hit. |
 Zealous Blunderbuss Zealous Blunderbuss | Zealous Weapons (Sermons) | Fervour also fills Divine Inspiration. |
| Godly Blunderbuss | Godly Weapons (Sermons) | 15 base damage, the highest of any weapon. |
The Godly Blunderbuss is the damage king. The wiki lists it at 15 base damage, the highest base value of any weapon in the game, which suits the blunderbuss's already heavy point-blank hits.
The Merciless Blunderbuss is nasty at close range. A critical point-blank shot triples an already high number, so a Merciless roll can delete a boss in a couple of well-timed blasts.
The Fate of Plimbo the First is the legendary blunderbuss, and it triples your output per shot. Per the wiki, it fires three projectiles in a single shot, described as the blunderbuss of legendary greed.
Its shard is a fishing find. The wiki states you retrieve it by fishing inside the corpse of the frozen fish at Pilgrim's Passage during Winter, tying it to the same seasonal  fishing spot as several other secrets.
From there it is a standard restore. Like every legendary weapon, you take the shard to  Rami with Wool to rebuild it, then name it once.
The blunderbuss heavy attack is a focused slug. According to the wiki, it fires a concentrated shot that deals around double damage with extra range, and it can be charged to travel even farther.
Play it at both extremes. Full damage comes from point-blank shots, while the charged heavy attack lets you snipe safely from across the room, so you pick your range based on the threat.
It pairs well with survivability tools. The wiki highlights the  Fleece of the Berserker with the charged heavy attack, letting you snipe from a safe distance, and any Tarot card that boosts damage stacks onto its already high base hits.
Ammo is the blunderbuss's only real discipline. Per the wiki, it holds three to five shells that reload over roughly three seconds when you stop firing, so emptying the clip mid-fight leaves a gap.
Do not dry-fire. The wiki explains that pulling the trigger with no shell resets the reload timer and plays an annoyed head-shake animation, wasting time you could have spent dodging.
Space your shots instead. Firing in bursts and letting the clip top up between engagements keeps you from ever standing helpless, which matters most in longer curse-heavy rooms where enemies keep coming.
In practice the blunderbuss feels best in Ewefall and The Rot, where enemies force distance. Fire a burst, reposition while the shells refill, and use the charged heavy attack to punish anything that chases you.
The blunderbuss is one of six weapon classes. These guides cover the melee options, the DLC that houses its legendary, and the Doctrines that unlock every variant.

Game data and screenshots adapted from cult-of-the-lamb.fandom.com, used under CC BY-SA 3.0. Original content remains the property of the wiki contributors and Massive Monster and Devolver Digital.