
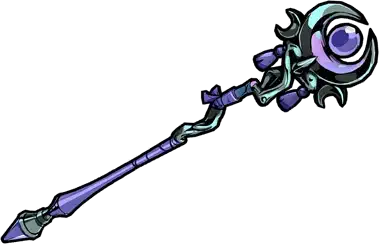
The Aspect of Momus makes every Omega Move fire itself up to three times in place, turning one cast into a repeating pulse of damage.
The Aspect of Momus is the highest-damage Witch's Staff aspect because it fires every Omega Move up to three times for the cost of one cast.
You cast an Omega Attack or Omega Special once, and a pulse orb keeps firing it in place up to three times before you need to recast. That tripling stacks with any payload your boons add to each cast, so one expensive Magick spend pays out three times over.
The rank you invest lowers the delay between those bursts, from four seconds all the way down to one, which is the difference between a slow drip and a rapid pulse of repeated Omega damage.
This guide covers how the Momus pulse works, its rank scaling, the boons that make it shine, and when to pick it over the other Witch's Staff aspects.
Omega Moves fire up to 3 times in place until you use them again.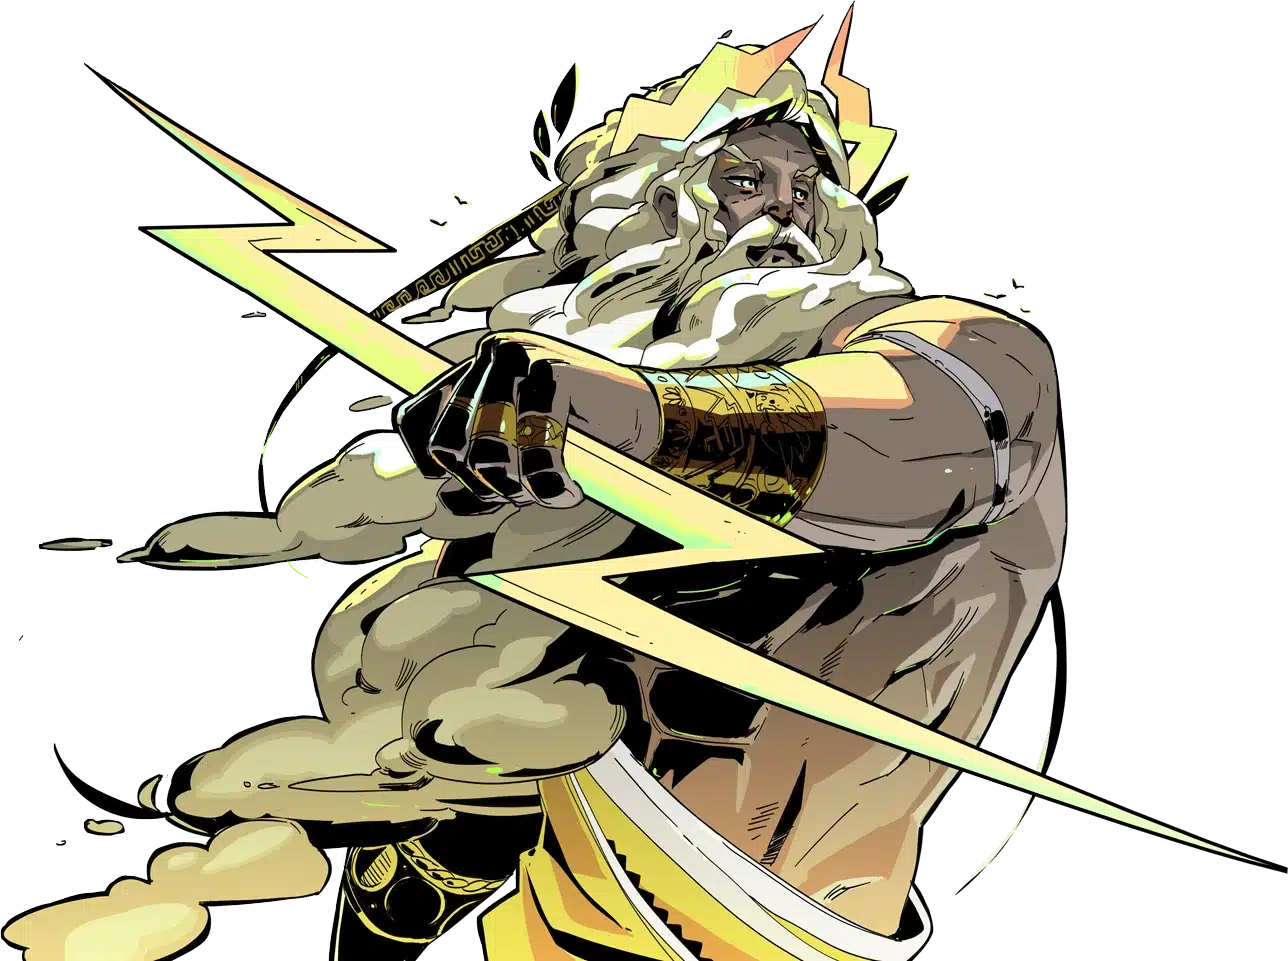 per-cast payload boons and heavy Magick regeneration.
The Aspect of Momus drops a pulse orb whenever you use an Omega Move, and that orb fires the same move in place up to three times before you recast.
On the Witch's Staff, the Omega Attack is a long piercing line and the Omega Special is a radial blast, so a Momus pulse repeats that line or blast on the same spot. The wiki specifies only one pulse orb of each move type can be active at a time, and recasting the same Omega Move replaces the current orb with a new one.
One wiki caveat matters for Arcana builds: the Night card only affects the initial hit of an Omega Move, not the repeat pulses. So Momus rewards boons that apply to every cast over Arcana that only buff the first hit.
Cast your Omega Move, then keep attacking while the pulse repeats. The orb does its three bursts on its own, so standing there waiting wastes time. Fire it into a pack and let it pulse while you reposition or fire basic attacks.
The aspect scales the delay between Omega bursts, so higher ranks make the three pulses fire faster and stack damage quicker.
| Rank | Delay Between Omega Bursts |
|---|---|
| Rank I | 4 seconds |
| Rank II | 3.5 seconds |
| Rank III | 3 seconds |
| Rank IV | 2.5 seconds |
| Rank V | 2 seconds |
| Rank VI | 1 second |
Rank I costs Pearl and Limestone, ranks II through V each cost Nightmare, and the rank VI drop to a one-second delay unlocks through the Hephaestus Legendary boon Premium Service. That final rank quadruples your burst pace compared to rank I, which is why a fully invested Momus feels like a different aspect entirely.
The delay is the whole aspect. At a four-second delay the three bursts trickle out; at one second they land almost on top of each other. Prioritize ranking Momus up if you mean to main it, because the low-delay ranks are where the damage lives.
The strongest Momus build stacks a per-cast payload boon, heavy Magick regeneration, and a defensive layer so you can stand near your pulses.
Because each Omega Move repeats up to three times, you want one boon that adds a flat or status payload to the cast, since it lands on every pulse. Then prioritize Magick so you can recast often, and pull boons that protect you while the orb works.
Aspect of Momus (Omega Moves fire 3 times) Zeus (lightning on every pulse of the line)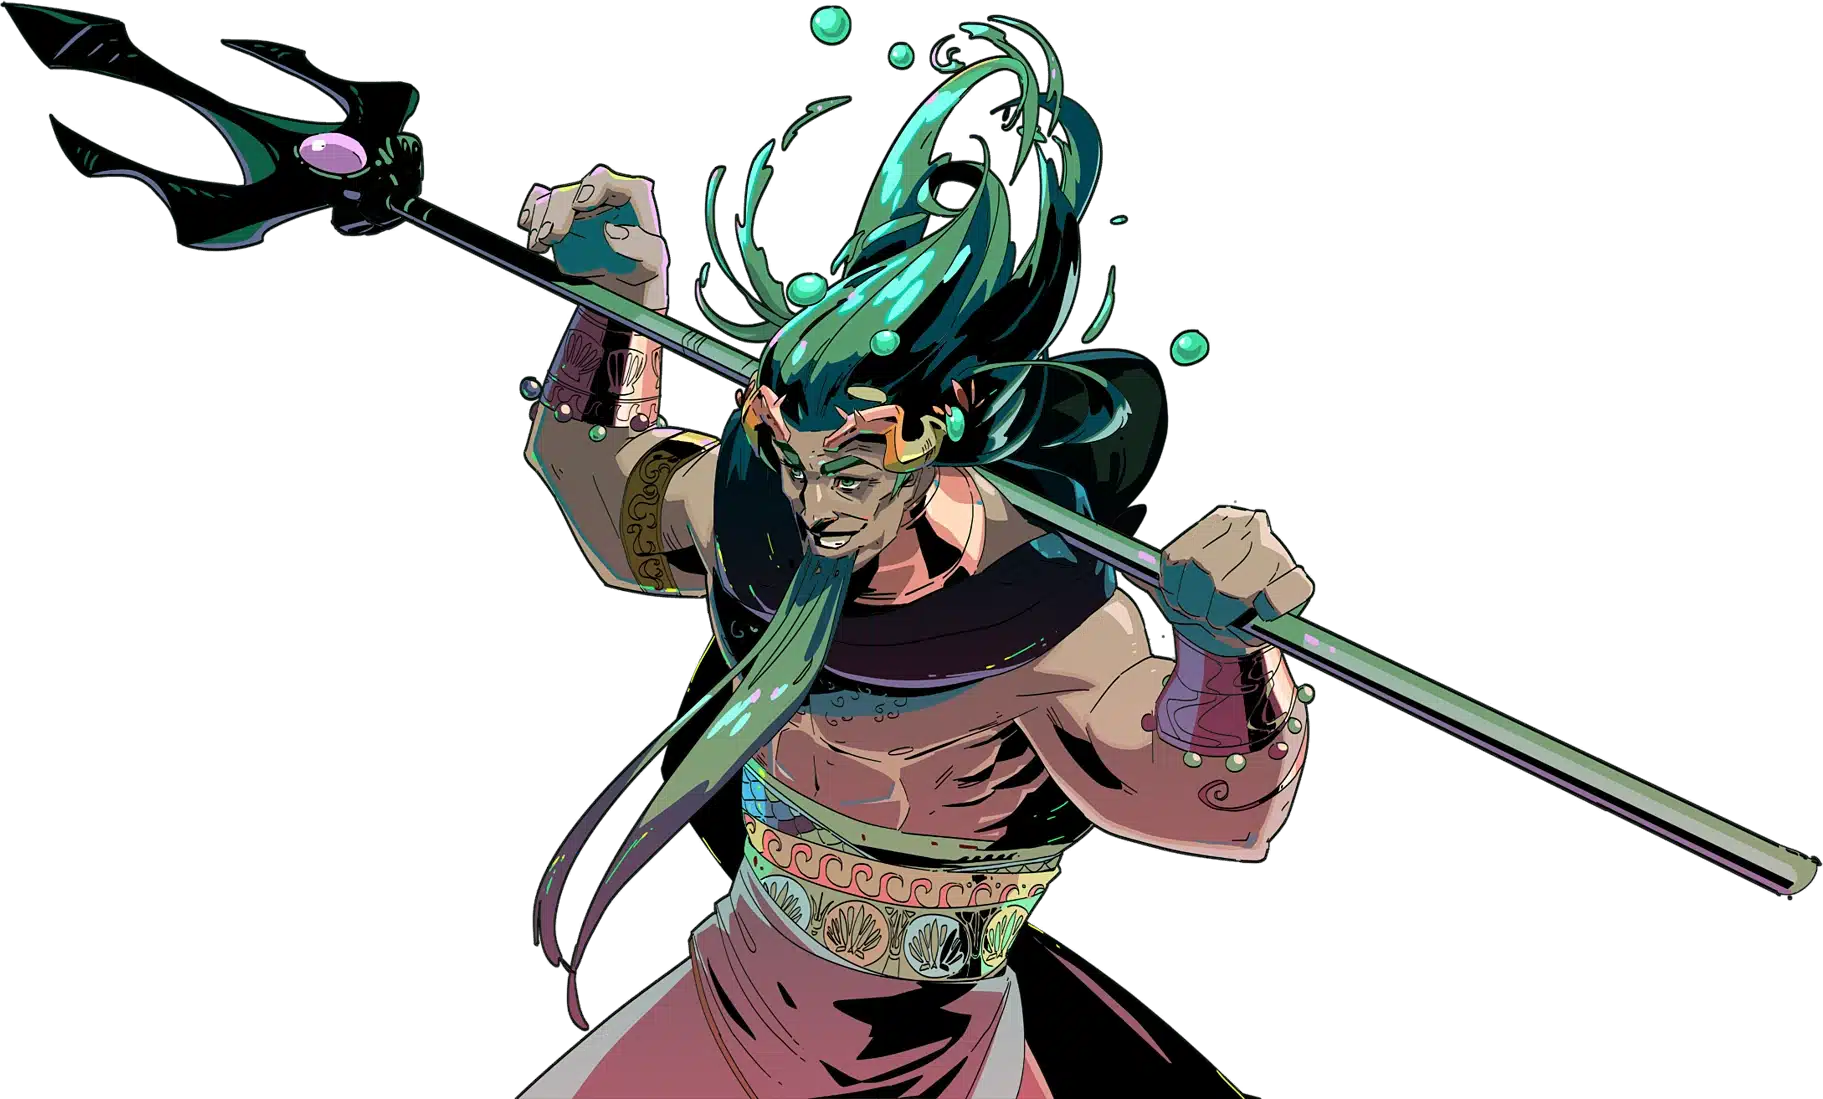 Poseidon (knockback and drops on the blast)
 Magick regen sources (recast Omega Moves often)
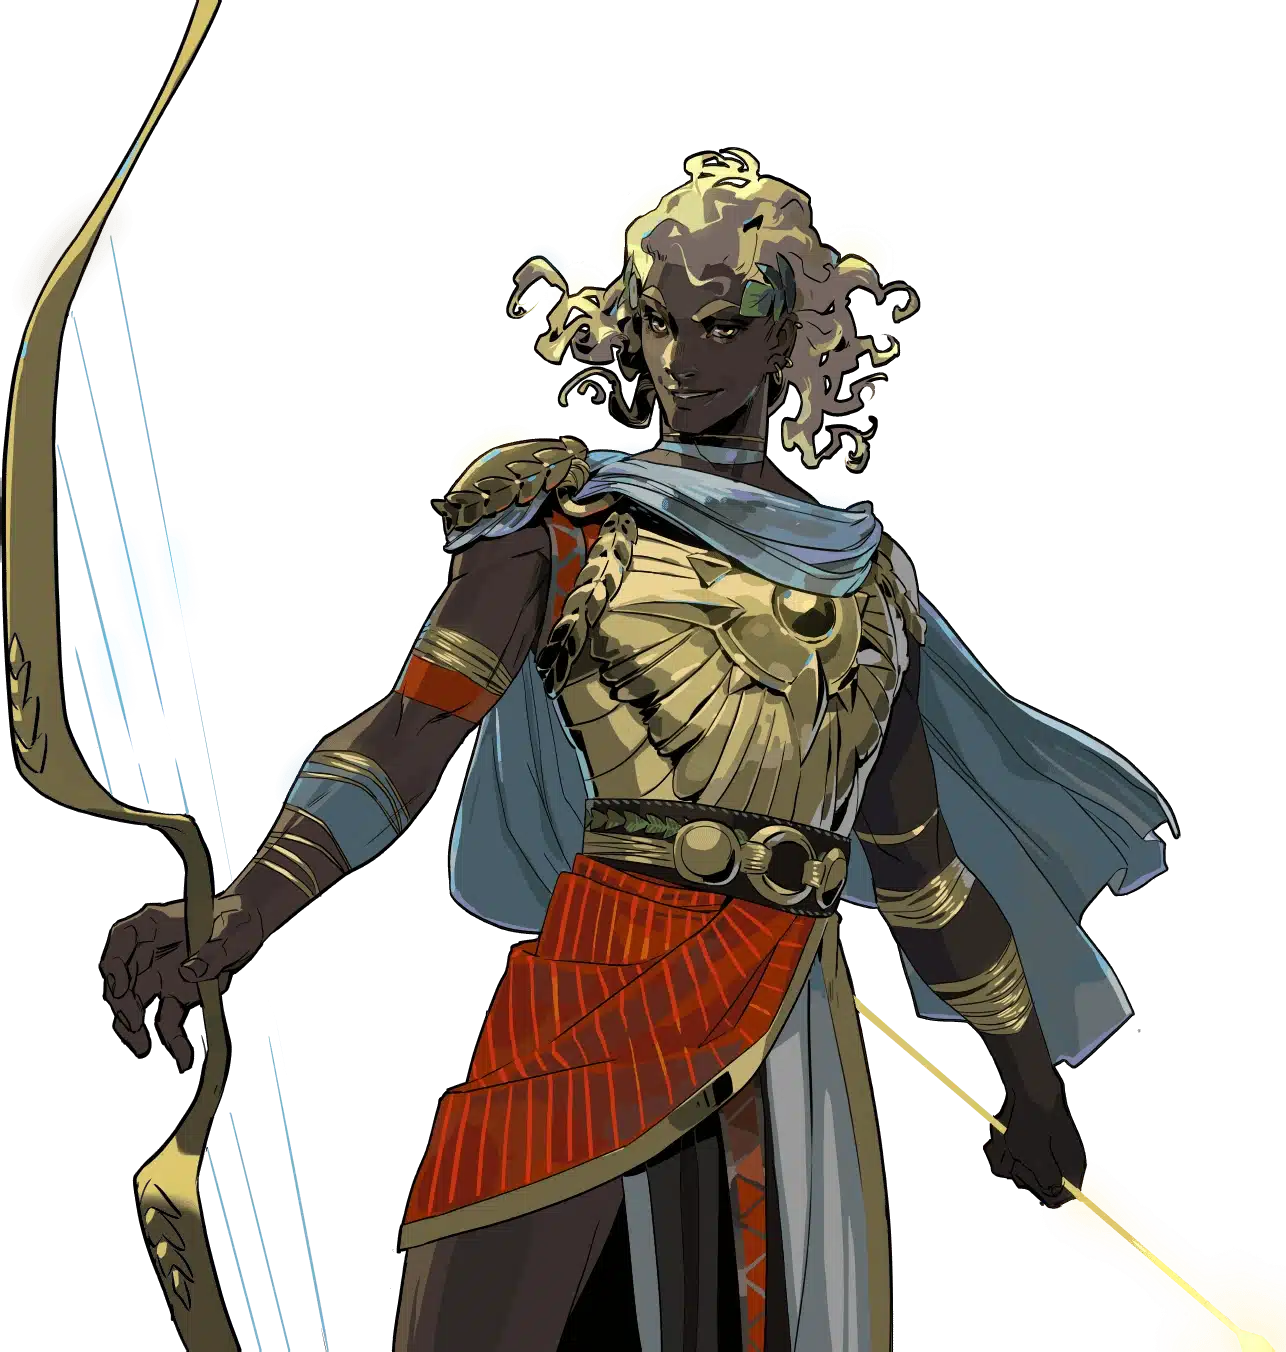 Apollo Daze (safety near your pulse orb) Giga Moonburst (bigger Omega Special area)
In practice this build casts one Omega Move and gets three bursts of a Zeus-charged line or a Poseidon blast, all from a single Magick spend. Across multiple runs, the triple pulse plus a per-cast payload is the staff's highest sustained damage.
The Momus pulse wants per-cast payload boons, Magick sustain, and protection so you can hold ground near the orb.
Zeus is the best partner because lightning applies on each of the three pulses, tripling the chain damage from one cast. Poseidon adds knockback and drops to the radial Omega Special, useful for both control and resources.
Hestia Scorch and  Demeter Freeze layer status that the repeated bursts apply fast, while Apollo Daze keeps you safe while the orb pulses. In practice, one strong per-cast boon plus reliable Magick is the entire Momus core.")
Avoid leaning on the Night Arcana with Momus. It only buffs the initial hit of an Omega Move, not the repeat pulses, so its value is cut to a third here. Spend that Grasp on cards that help every cast or your Magick instead.
Pick Momus for the highest Omega damage, and pick a different aspect for a simpler or familiar-driven build.
 The Aspect of Melinoe adds Max Magick and Special Power, the safe beginner default that needs no special timing.
 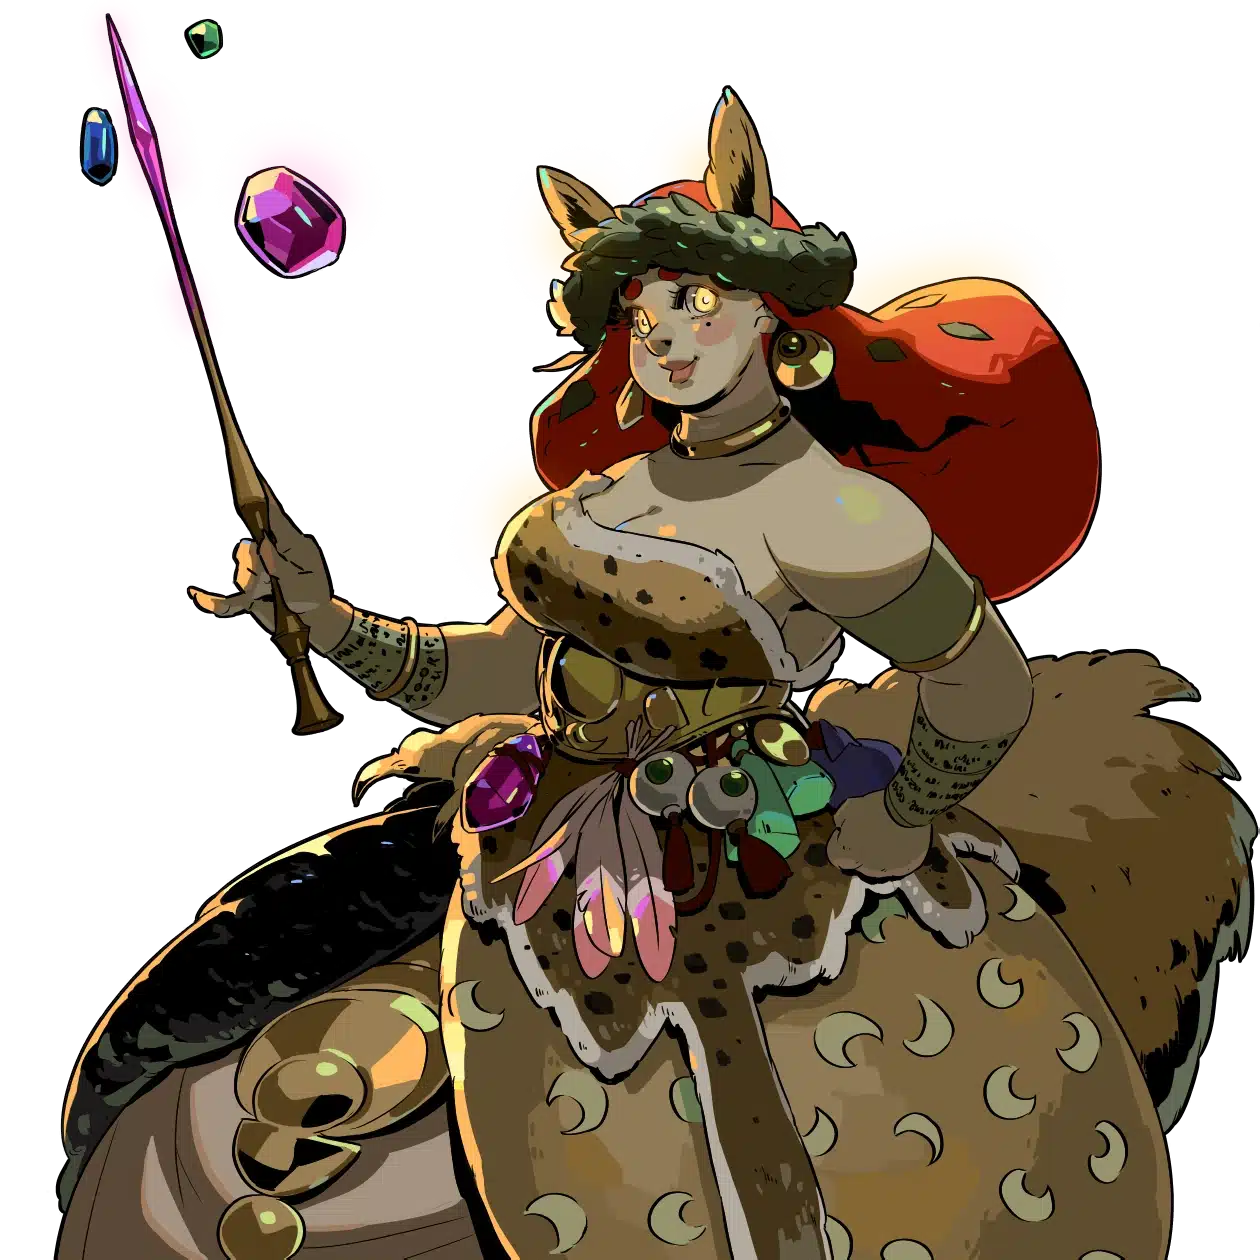 The Aspect of Circe ties your Casts to your Animal Familiar through a Psychic Leash, and the hidden Aspect of Anubis raises Lone Shades where you slay foes.
Momus has the highest damage ceiling of the four because the triple pulse multiplies any per-cast payload, but it leans hardest on Magick. If your run cannot sustain frequent Omega casts, Melinoe is the steadier pick. The full Witch's Staff weapon guide compares all four aspects in depth.
On the Witch's Staff, the Aspect of Momus makes every Omega Move fire itself up to three times in place until you use it again. The rank lowers the delay between those bursts, from four seconds at rank I down to one second at rank VI.
The Aspect of Momus is an aspect of the Witch's Staff, Descura. Because the staff already leans on its charged Omega Moves, the aspect's triple-pulse effect makes it the strongest damage aspect for an Omega-focused staff build.
Stack one per-cast payload boon like Zeus that applies on every pulse, prioritize Magick regeneration so you can recast Omega Moves often, add a defensive boon like Apollo Daze, and take Giga Moonburst to widen the Omega Special.
Only partially. The wiki notes the Night card affects only the initial hit of an Omega Move, not the repeat pulses, so its value is roughly cut to a third on a Momus build. Favor per-cast boons and Magick cards instead.
Yes, it is the highest-damage Witch's Staff aspect when fully ranked because it triples your Omega output for one cast. The trade is a heavy reliance on Magick, since you need to recast often to keep the pulse orbs going.
Casting an Omega Move drops a pulse orb that repeats the move in place up to three times. Only one orb of each move type can be active at once, and recasting the same Omega Move replaces the current orb with a new one.
Pick Momus for the highest Omega damage if your run can sustain the Magick to recast often. Pick Melinoe for a steadier build with more Max Magick and Special Power that needs no timing, which makes it the safer beginner choice.
Rank VI is the goal because the delay drops to one second, making the three bursts land almost together. The early ranks pulse slowly, so commit the full investment if you plan to main the aspect on a deep run.
Keep building out your Hades 2 knowledge with these next stops.

Game data and weapon art adapted from hades.fandom.com, used under CC BY-SA 3.0. Original content remains the property of the wiki contributors and Supergiant Games.