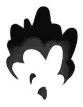
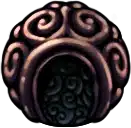
The Infected jellyfish at the heart of Teacher's Archives, the gate boss for Monomon the Teacher.
Uumuu is the only Hallownest boss the Knight cannot damage alone. Per the wiki, "Uumuu cannot be harmed normally, as its vulnerable core is protected by a membrane that deflects the Knight's attacks and shields it from Spells." The fight only works because Quirrel arrives mid-battle and pops the shield.
According to the wiki, the timing is fixed. "Quirrel appears the first time after dodging 3-4 attacks, and all subsequent times after only 2-3. This deflates Uumuu, leaving it open to attacks for 3.75 seconds." Each Quirrel intervention is a 3.75-second damage window; everything else is dodging.
The wiki specifies the lore frame. "Uumuu is an intelligent yet Infected being similar to the Uomas and Oomas infesting Fog Canyon. It defends Monomon's chamber at the heart of the Teacher's Archives." She left it as her guardian; Quirrel, her former apprentice, helps the Knight breach it.
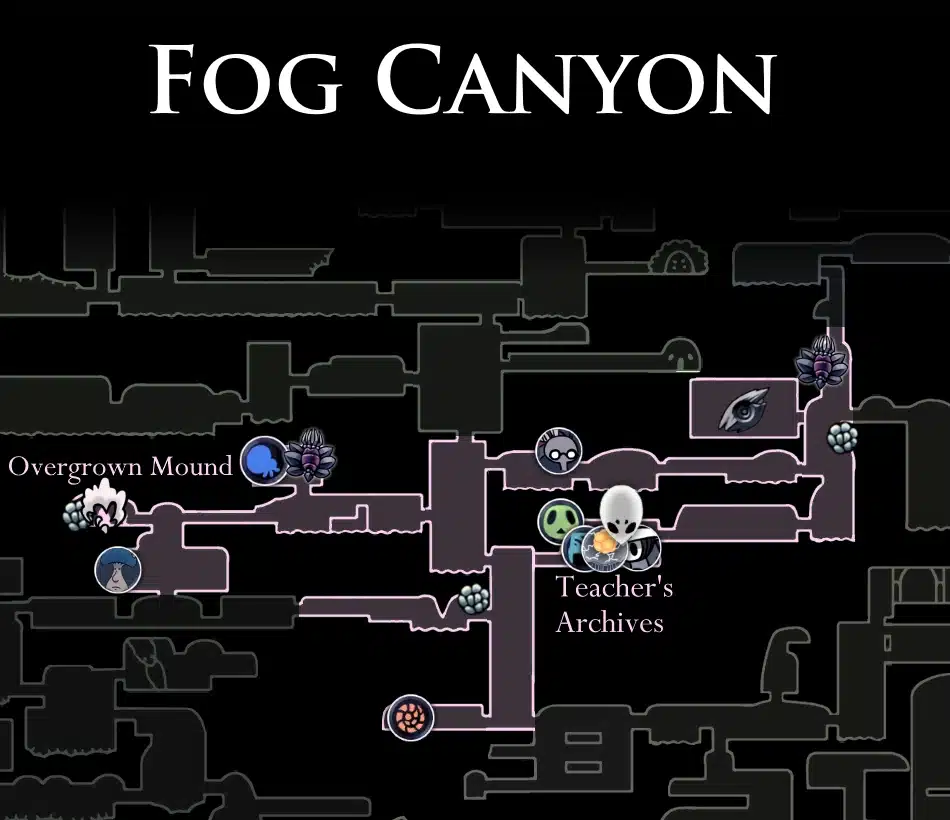
This guide covers the Teacher's Archives access via acid-swim through Fog Canyon, the two-attack moveset with Quirrel's shield-pop windows, the Abyss Shriek plus Shaman Stone one-cycle kill, the Pantheon variant where Quirrel is absent and Oomas replace him, and the post-fight Monomon Dreamer Seal collection.
An Infected jellyfish, the gate boss in the heart of the Teacher's Archives. Teacher's Archives, Fog Canyon, reached by acid-swimming with Isma's Tear.
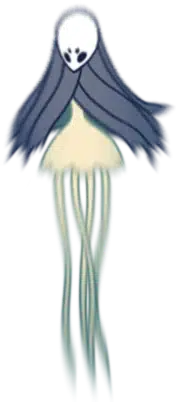 Access to Monomon, the second Dreamer on the Black Egg Temple gate.
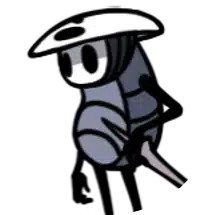 Quirrel pops the shield, leaving Uumuu vulnerable for 3.75 seconds per intervention.
Uumuu is the Infected jellyfish Monomon left as her guardian. Per the wiki Hunter's Journal, "Uumuu is an intelligent yet Infected being similar to the Uomas and Oomas infesting Fog Canyon. It defends Monomon's chamber at the heart of the Teacher's Archives." The intelligence is unusual for an Infected creature; it was apparently aware enough to keep the post.
According to the wiki, the fight starts when "Uumuu appears from the acid pool in the room preceding the inner chamber once the Knight reaches it." It rises out of the acid as the Knight enters, sealing the corridor that holds Monomon's body. The initial rise itself can deal damage if the Knight is too close.
The wiki specifies the post-fight scene. "Once defeated, the Infection bursts out of Uumuu before it explodes." The death animation mirrors Flukemarm's and Broken Vessel's; the Infection finds and explodes its hosts on defeat. With Uumuu gone, the corridor to Monomon's tank opens.
Uumuu sits in the centre of the Teacher's Archives, deep in Fog Canyon. Per the wiki, the arena is "the room preceding the inner chamber" where Monomon's tank rests. The chamber acid fills the lower portion of the room; falling in damages the Knight unless Isma's Tear is equipped.
According to the wiki, "Uumuu is located in the centre of the Teacher's Archives." The Knight reaches it by entering Teacher's Archives from either the Crystal Peak side or the Fog Canyon main path, then climbing through the Archives corridors to the central room.
The wiki notes the geographic anchor. The Archives sit inside Fog Canyon, which gates the second Dreamer location after the Watcher Spire (Lurien) and before Deepnest (Herrah). The Knight typically reaches Uumuu after defeating Watcher Knights and acquiring Monarch Wings.
Uumuu has just two attacks plus the Quirrel intervention mechanic. Per the wiki, "Uumuu only has two attacks, but they are both quite hard to dodge, and leave few opportunities for healing." The hard-to-dodge nature is what makes Uumuu difficult despite the limited move count.
According to the wiki, the membrane is total. "Uumuu cannot be harmed normally, as its vulnerable core is protected by a membrane that deflects the Knight's attacks and shields it from Spells." Nail strikes bounce off; spells whiff. The only damage windows are the 3.75-second Quirrel pops.
Per the wiki, "Using the Dream Nail on Uumuu is a good way to gain large amounts of SOUL, but it can be difficult to avoid getting damaged. Equipping the Dream Wielder Charm for this fight makes it easier to use the Dream Nail." In actual play, Dream Nail strikes between Quirrel windows fund Abyss Shriek casts.
The fastest Uumuu route is Abyss Shriek with Shaman Stone. Per the wiki, "Uumuu can be completely killed by using the Abyss Shriek Spell three times with the Shaman Stone Charm, allowing it to be beaten in one cycle, given that enough SOUL has been gathered before the fight." Three casts during the first Quirrel pop window finishes the fight if the SOUL bar is full.
 Abyss Shriek (spell: 3 casts in one Quirrel window = kill)
 Dream Wielder (faster Dream Nail for SOUL refills between Quirrel windows)
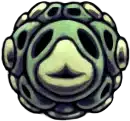 Grubsong (SOUL on taken damage; helps the strict SOUL economy)
According to the wiki, the SOUL economy is the fight's real puzzle. "SOUL-generating Charms like Soul Catcher, Soul Eater, Kingsoul, and Grubsong are also very helpful in this fight, as chances to hit Uumuu, and consequently, chances to gather the SOUL needed for healing, are quite rare." Each Quirrel pop window is the only SOUL farm; Dream Nail strikes fill the gap.
The wiki specifies the air rule. "Avoid jumping in the acid below, as this greatly slows movement and causes damage if Isma's Tear has not been obtained." Even with Isma's Tear, the acid slows movement enough to miss Quirrel windows. Stay on the platforms.
The wiki notes the Nail-Art alternative. "The Great Slash Nail Art and the Pure Nail are recommended in order to make short work of Uumuu." Great Slash during a Quirrel window deals 4-5x base nail damage and helps players without the Abyss Shriek setup.
Defeating Uumuu opens the path to Monomon the Teacher. Per the wiki, the fight grants "access to Monomon the Teacher," the second Dreamer on the Black Egg Temple gate. Monomon's tank sits in the chamber Uumuu was guarding.
According to the wiki, Uumuu returns in the Pantheon of the Sage as the final boss. "Pantheon of the Sage, 8th boss. Health: Attuned difficulty 350. Ascended difficulty 700." The Godhome arena changes the formula: "When fought in Godhome, Quirrel is not present. Instead, Uumuu summons Oomas to help it, but they can also be used to break its defence." Quirrel is absent; the Knight pops the shield themselves.
The wiki specifies the Ascended fog hazard. "A green fog appears on the bottom of the arena that damages the Knight if they fall into it on Ascended difficulty or above. The boss also summons Oomas that must be utilized in order to break its membrane." Ascended Uumuu is a self-service shield-pop fight in a smaller arena.
Uumuu gates the second Dreamer and is the final boss of the Pantheon of the Sage. These spokes pick up the threads.
Game data and screenshots adapted from hollowknight.fandom.com, used under CC BY-SA 3.0. Original content remains the property of the wiki contributors and Team Cherry.