

The Aspect of Medea keeps your thrown skull within reach and detonates it with your Special, while piling on Attack and Special damage.
The Aspect of Medea fixes the Argent Skull most awkward habit, chasing thrown skulls, by keeping your Attack within reach and detonating it on command.
Your skull stays close instead of flying off, then explodes after your Special lands on it or after three seconds. On top of that control, the aspect grants one of the largest raw damage boosts on any axe or skull aspect, climbing to plus 135 percent Attack and Special damage at the top rank.
That combination makes Medea the damage-and-control pick: less time managing ammo, more time detonating loaded skulls right where you want them.
This guide covers how the Medea detonation works, its rank scaling, the boons that push it hardest, and when to pick it over the other Argent Skull aspects.
your Attack stays within reach and explodes after your Special or 3 seconds.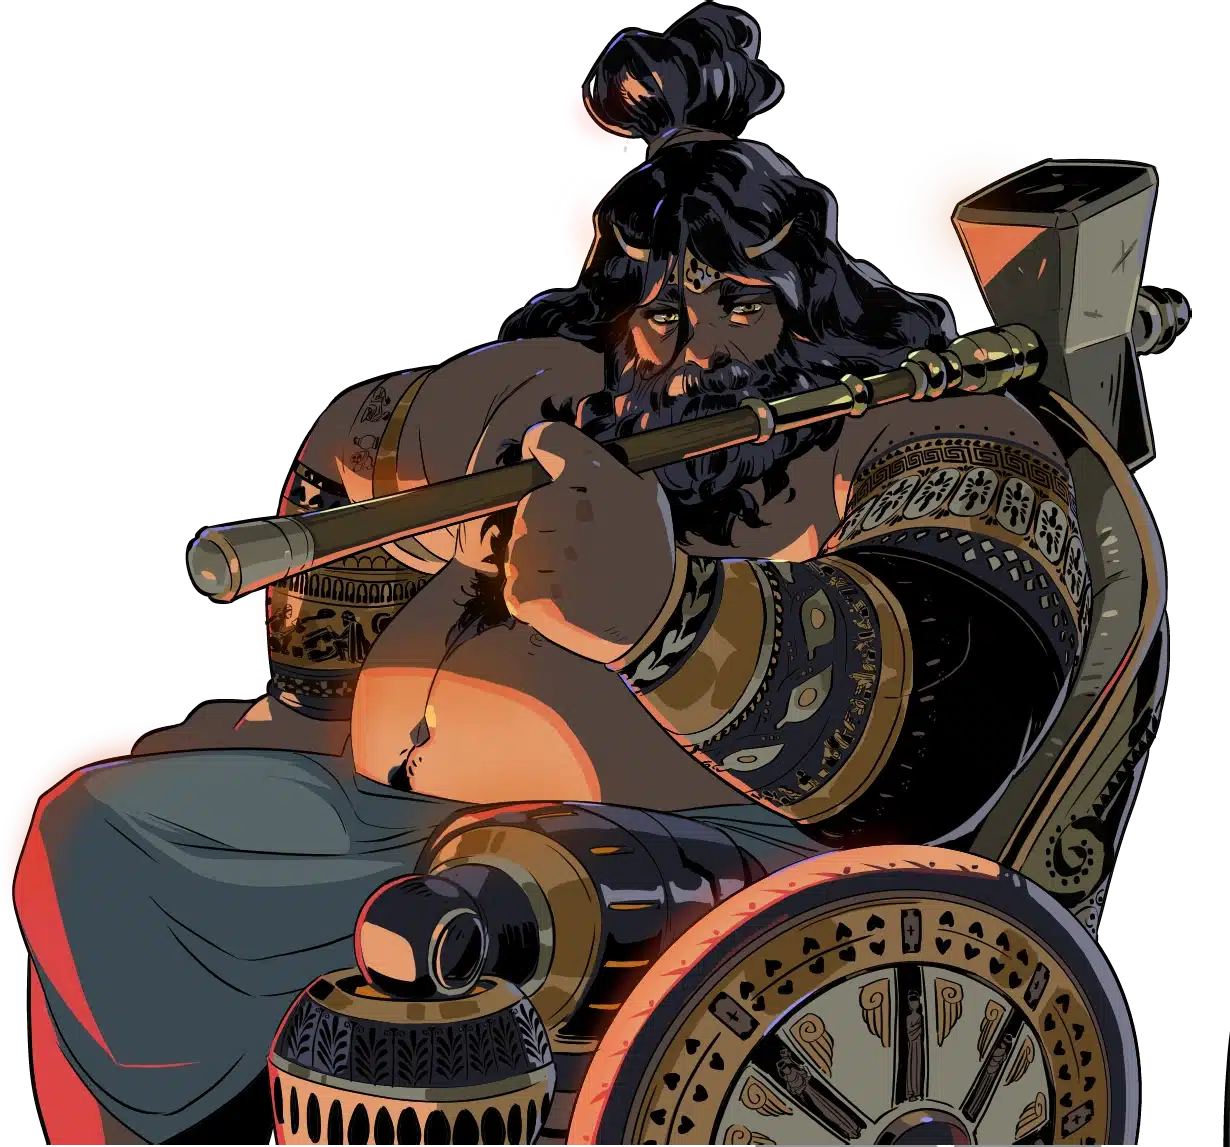 Attack, Special, and blast damage boons that ride the detonation.
The Aspect of Medea changes the Argent Skull throw so your skull stays within reach, then detonates when your Special strikes it or after three seconds.
On the Argent Skull, the base weapon makes you throw skulls that land far away and need retrieving. Medea keeps the Attack close, so you are no longer chasing ammo across the room; you place a skull, then pop it with your Special on your own timing.
The aspect also scales Attack and Special Damage together, which the wiki lists climbing to plus 135 percent at rank VI. That is a flat power increase to both the skull and the detonation, on top of the quality-of-life change, which is why Medea reads as a damage aspect rather than a pure gimmick.
Throw, then Special on your terms. You do not have to wait the full three seconds; striking the skull with your Special detonates it immediately, so use the Special as a manual trigger when a target walks into range.
The aspect scales Attack and Special Damage together, so every rank makes both your skull throw and its detonation hit harder.
| Rank | Attack and Special Damage |
|---|---|
| Rank I | +30% |
| Rank II | +45% |
| Rank III | +60% |
| Rank IV | +75% |
| Rank V | +90% |
| Rank VI | +135% |
Rank I costs Iron and Nightshade, ranks II through V each cost Nightmare, and the rank VI jump to plus 135 percent unlocks through the Hephaestus Legendary boon Premium Service. Because the bonus applies to both Attack and Special, it is unusually front-loaded: even rank I gives a meaningful plus 30 percent to your core damage, so this aspect is strong the moment you unlock it.
Medea is one of the few aspects worth taking at low rank right away. The plus 30 percent at rank I already lifts your whole damage output, so you do not need to fully invest before it earns its slot.
The strongest Medea build stacks Attack, Special, and blast damage so every loaded detonation hits as hard as the aspect bonus allows.
Since Medea boosts both Attack and Special and detonates on the Special, you want boons that add a payload to those actions plus blast boosters for the explosion. The control the aspect provides means you can play patiently and line up big detonations rather than scrambling for ammo.
Aspect of Medea (close skull, detonate on Special) Hephaestus (blast damage on the explosion)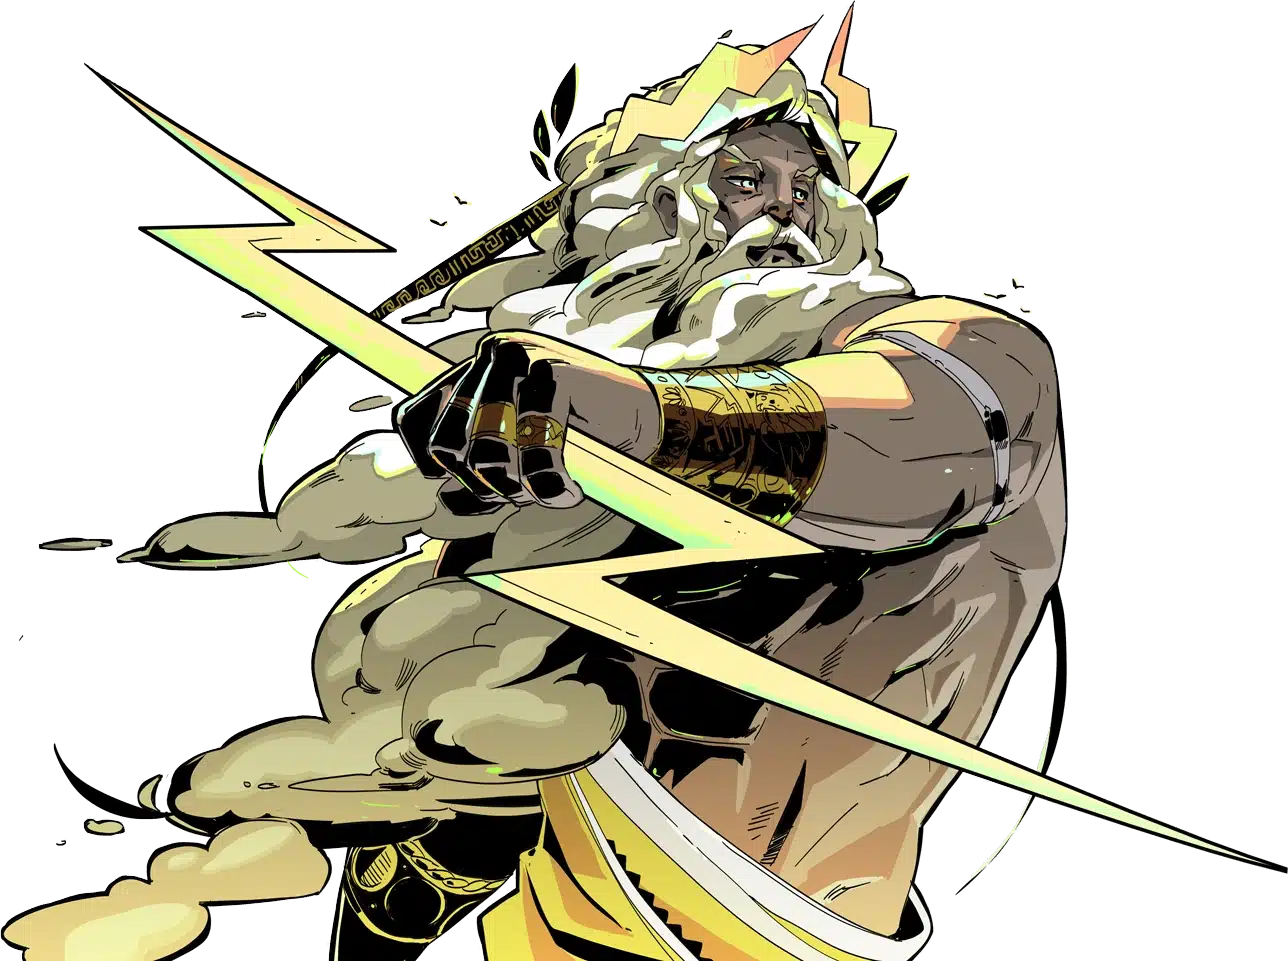 Zeus (lightning on the detonation trigger)
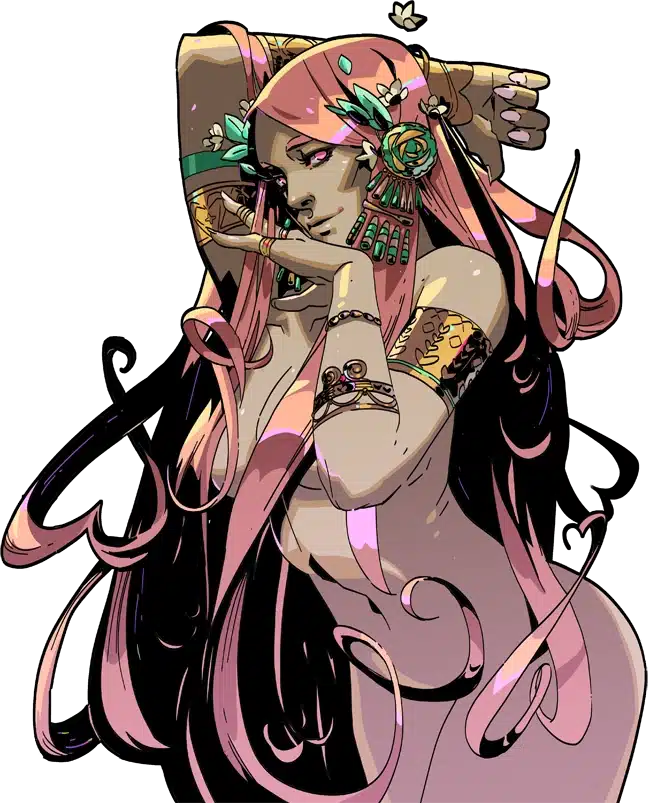 Aphrodite Weak (soften foes near the blast)
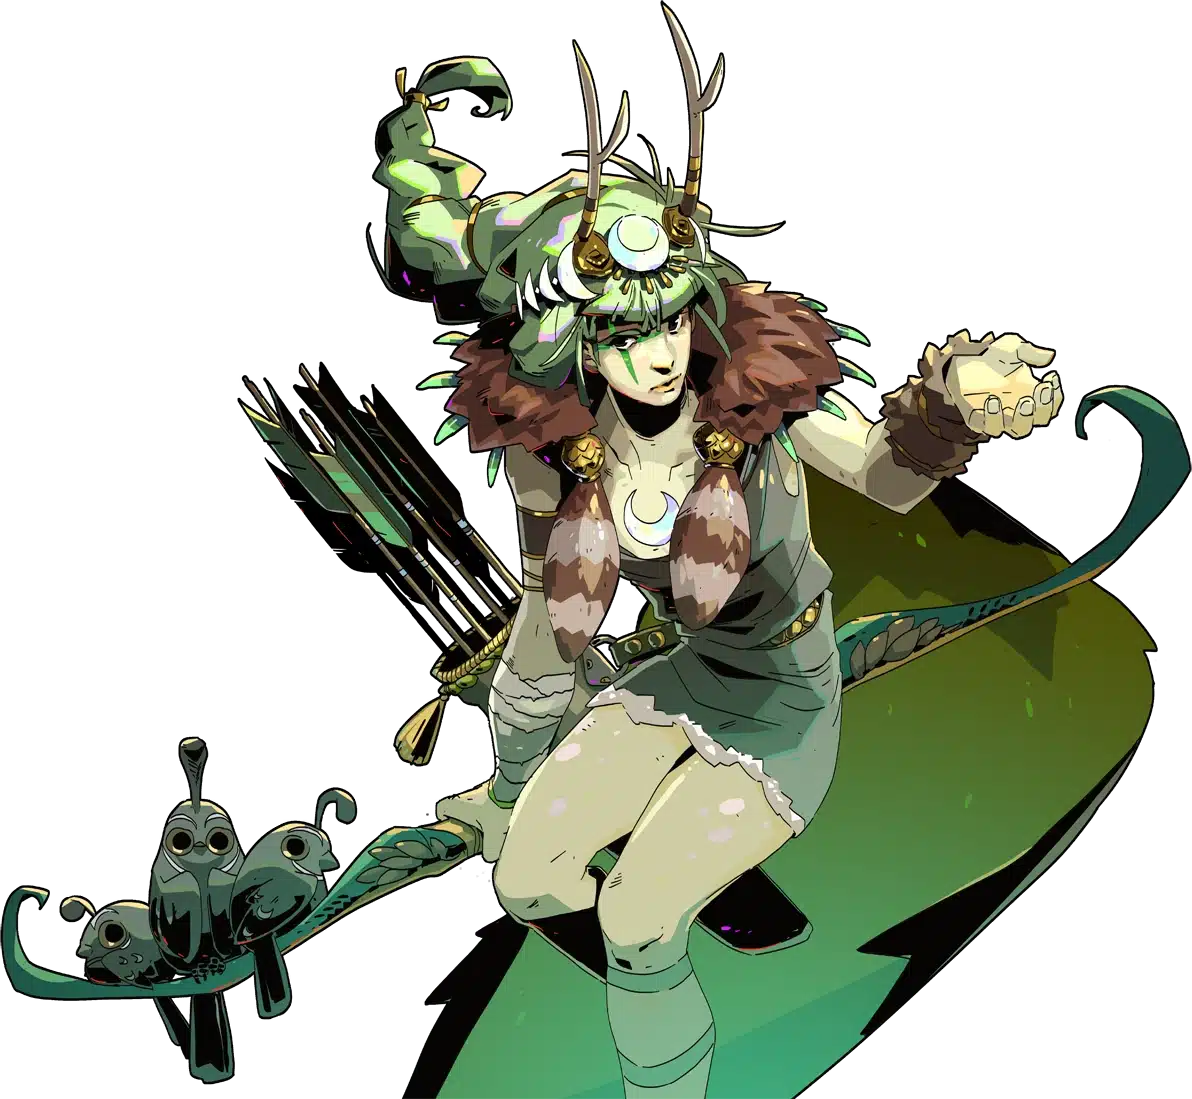 Artemis (crit on the big loaded hit)
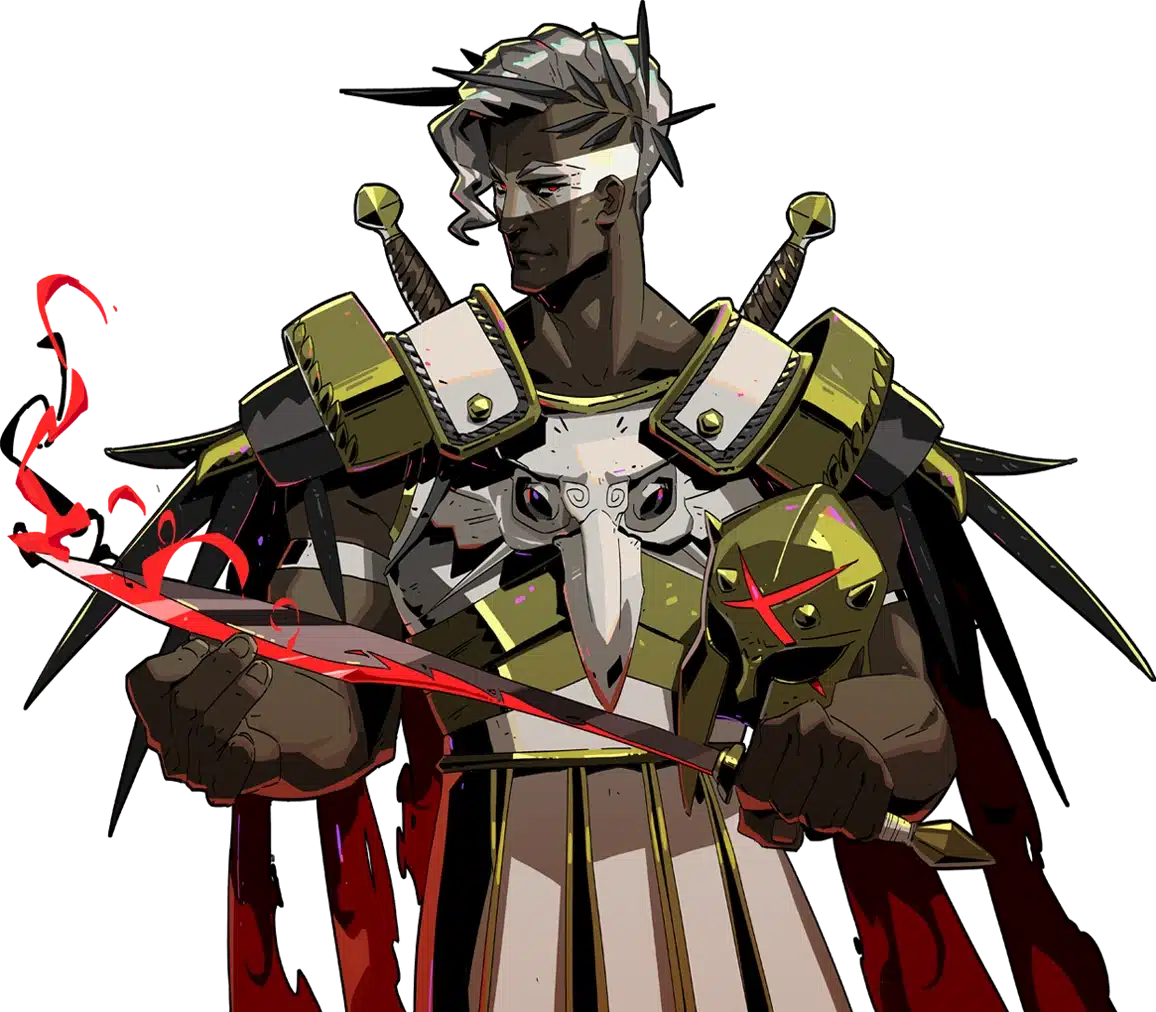 Ares blade rift (damage on the protected dash)
In practice this build plays calmer than the base skull. The plus 135 percent damage and on-demand detonation let you set up loaded explosions, while the protected Omega Special dash keeps you safe between them. Across multiple runs, Medea is the most consistent skull damage aspect.
Medea wants Attack and Special damage, blast boosters, and anything that rides the detonation.
Hephaestus blast boons stack area damage onto an explosion the aspect already amplifies, the cleanest pairing. Zeus lightning lands when your Special triggers the detonation, chaining across nearby foes.
Aphrodite Weak keeps the pack soft while you set up, Ares blade rifts ride the protected Omega Special dash, and Artemis crit can roll on the big loaded hit. In practice, one blast or Attack god plus the aspect plus 135 percent is the whole Medea core.")
Lean into Attack and Special boons over Cast or familiar effects. Medea scales those two stats directly, so a boon that buffs your Attack or Special is effectively buffed twice, once by the god and once by the aspect.
Pick Medea for damage and control, and pick a different aspect for mobility or aggressive throw-everything play.
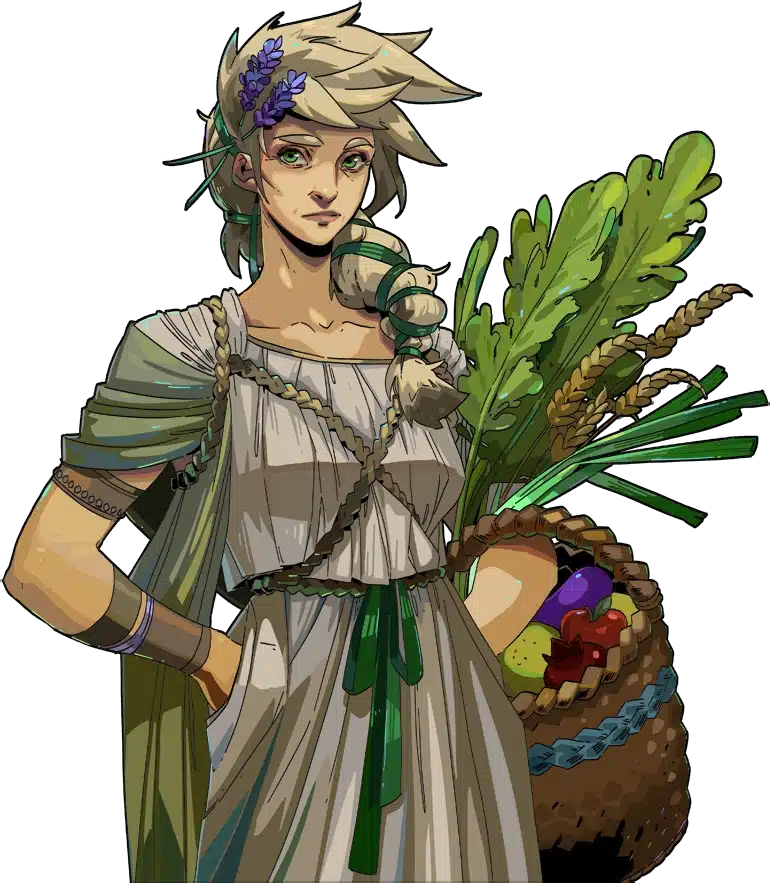 The Aspect of Persephone gives a steerable protected dash and boons that start a level higher, the high-ceiling mobility pick.
 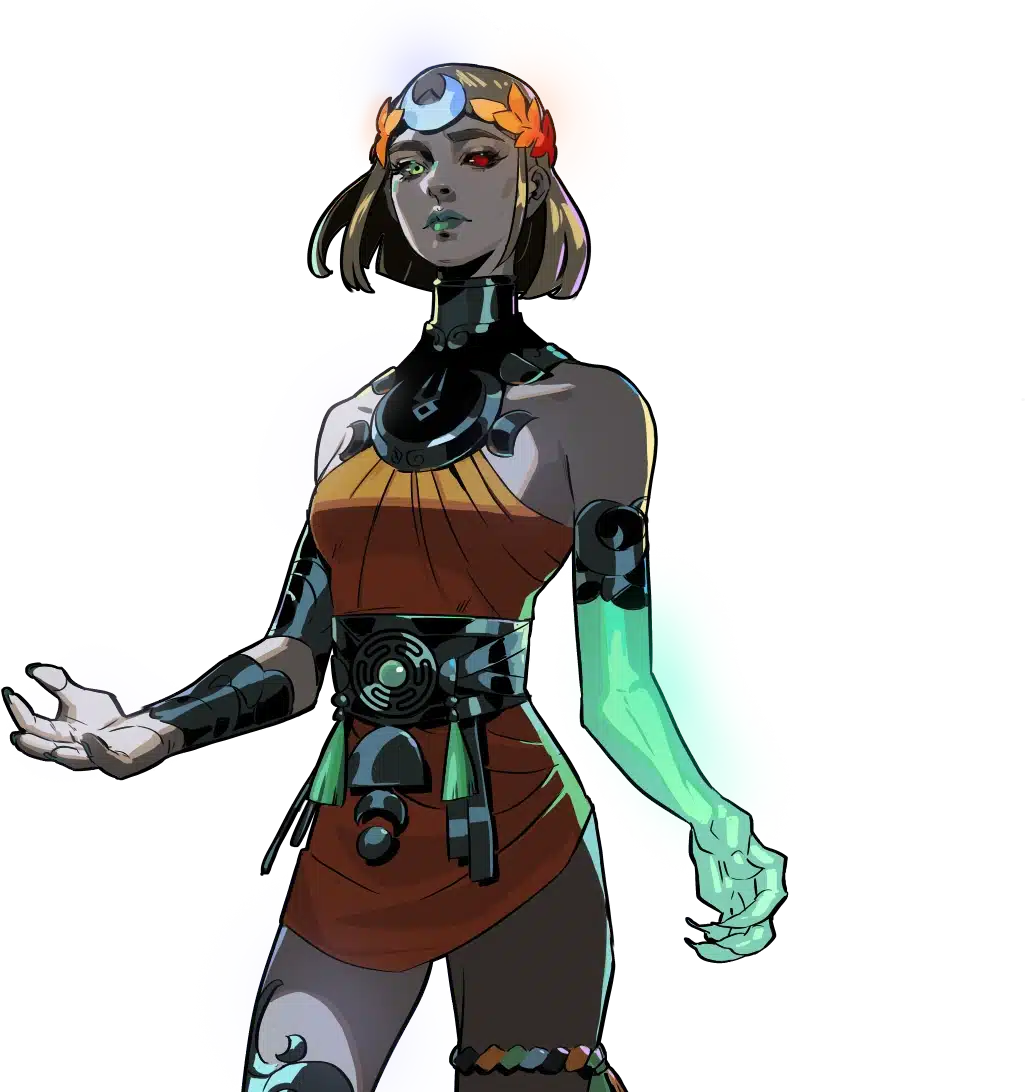 The Aspect of Melinoe rewards throwing all your skulls for stacking Attack Power, and the hidden Aspect of Hel adds Frost Mane and a Valkyrie effect.
Medea is the steadiest of the four because it removes the retrieve loop and amps raw damage, but Persephone has the higher overall ceiling thanks to its boon-tier boost. If you find the base skull ammo management frustrating, Medea is the most comfortable fix. The full Argent Skull weapon guide compares all four aspects in depth.
On the Argent Skull, the Aspect of Medea keeps your thrown Attack within reach and detonates it after your Special strikes it or after three seconds. It also scales Attack and Special damage together, up to plus 135 percent at rank VI.
The Aspect of Medea is an aspect of the Argent Skull, Revaal. It reworks the weapon's throw-and-retrieve loop by keeping your skull close and giving you an on-demand detonation through your Special.
Stack Attack, Special, and blast damage boons since the aspect boosts those stats and detonates on the Special. Hephaestus blast, Zeus on the trigger, Aphrodite Weak for safety, and Artemis crit on the loaded hit make a strong, consistent core.
The aspect scales Attack and Special damage together from plus 30 percent at rank I up to plus 135 percent at rank VI. Because it buffs both stats at once, even the early ranks meaningfully raise your overall damage output.
Yes, it is the most consistent Argent Skull damage aspect. It removes the chase-and-retrieve loop by keeping the skull close, adds a large Attack and Special damage boost, and lets you detonate on your own timing with the Special.
Strike your placed skull with your Special to explode it immediately, or wait three seconds for it to detonate on its own. Using the Special as a manual trigger lets you time the blast for when enemies are grouped or in range.
Pick Medea for raw damage and control without the retrieve loop, and pick Persephone for a steerable protected dash and boons that start a level higher. Medea is steadier, while Persephone has the higher overall ceiling.
Rank I at plus 30 percent is already worth using, which makes Medea unusually strong early. Rank VI reaches plus 135 percent Attack and Special damage, so rank it up over a run you plan to take deep for the full payoff.
Keep building out your Hades 2 knowledge with these next stops.
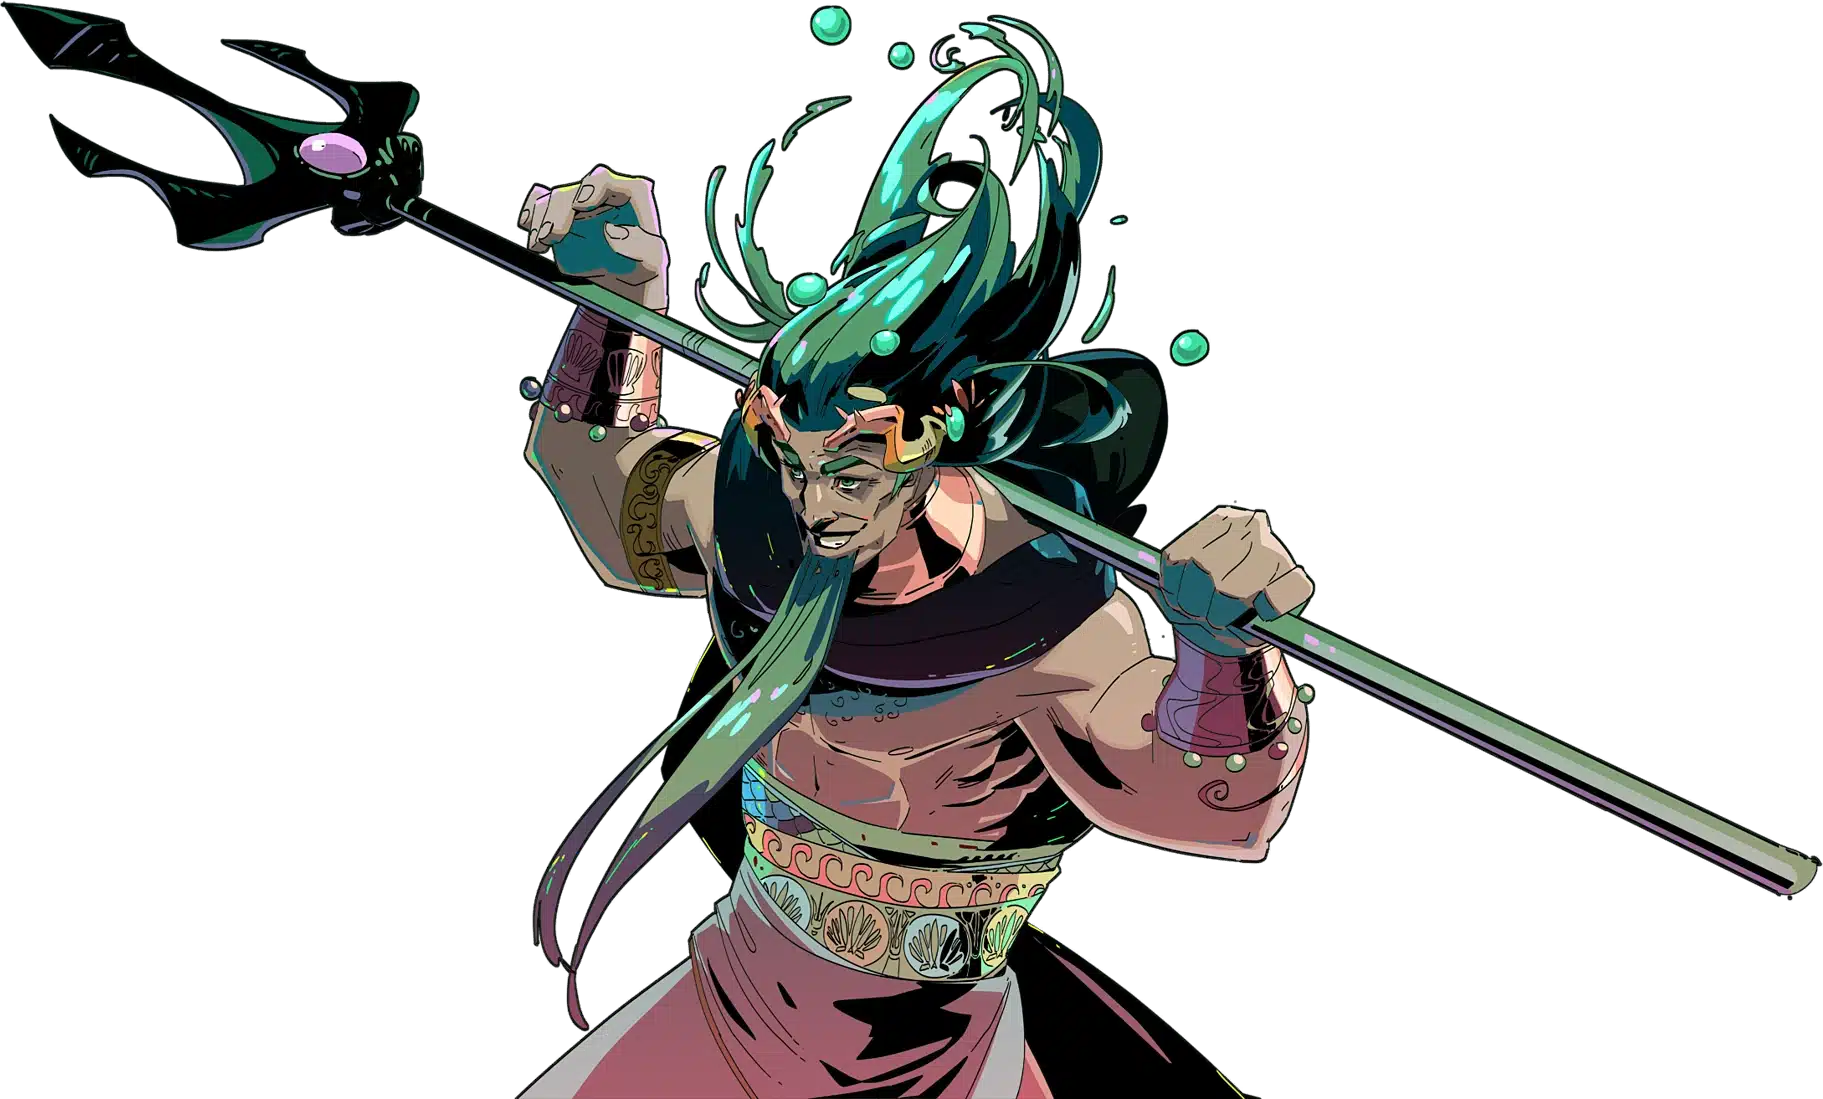
Game data and weapon art adapted from hades.fandom.com, used under CC BY-SA 3.0. Original content remains the property of the wiki contributors and Supergiant Games.