

A 4-notch Lifeblood DLC charm that passively regenerates the last lost Mask after 10 seconds without damage. The only source of mid-air healing in the game.
Hiveblood is the only charm in the game that heals the Knight without a Focus channel. According to the wiki, the 4-notch Lifeblood DLC charm passively regenerates the last Mask lost after 10 seconds of no damage, marked by a small dripping-honey blob on the empty Mask slot that slowly grows back to full.
Per the wiki, the buried lede is the mid-air rule. Focus requires the Knight to stand still on the ground (or use Shape of Unn for slug-form movement); Hiveblood has no such restriction. The regen ticks while jumping, dashing, falling, or running, which makes it the canonical Colosseum of Fools sustain pick where standing still equals death.
The wiki specifies a secondary effect: Hive enemies become passive when Hiveblood is equipped. The Hive Soldiers, Bee Stingers, and Husk Hornheads all ignore the Knight, which turns return trips through the Hive (for Grub collection, mask shards, and stag station unlocks) into peaceful walks.
This guide covers the 10-second regen mechanic, the Hive Knight Lifeblood DLC drop, the mid-air-only-charm framing, the Joni's Blessing combo exception, the 2-Mask damage limitation, and the canonical Colosseum loadout.
Heals the last lost Mask after 10s without damage; works mid-air, no Focus needed. Drops from Hive Knight in The Hive (Lifeblood DLC; below the Hive Knight arena).
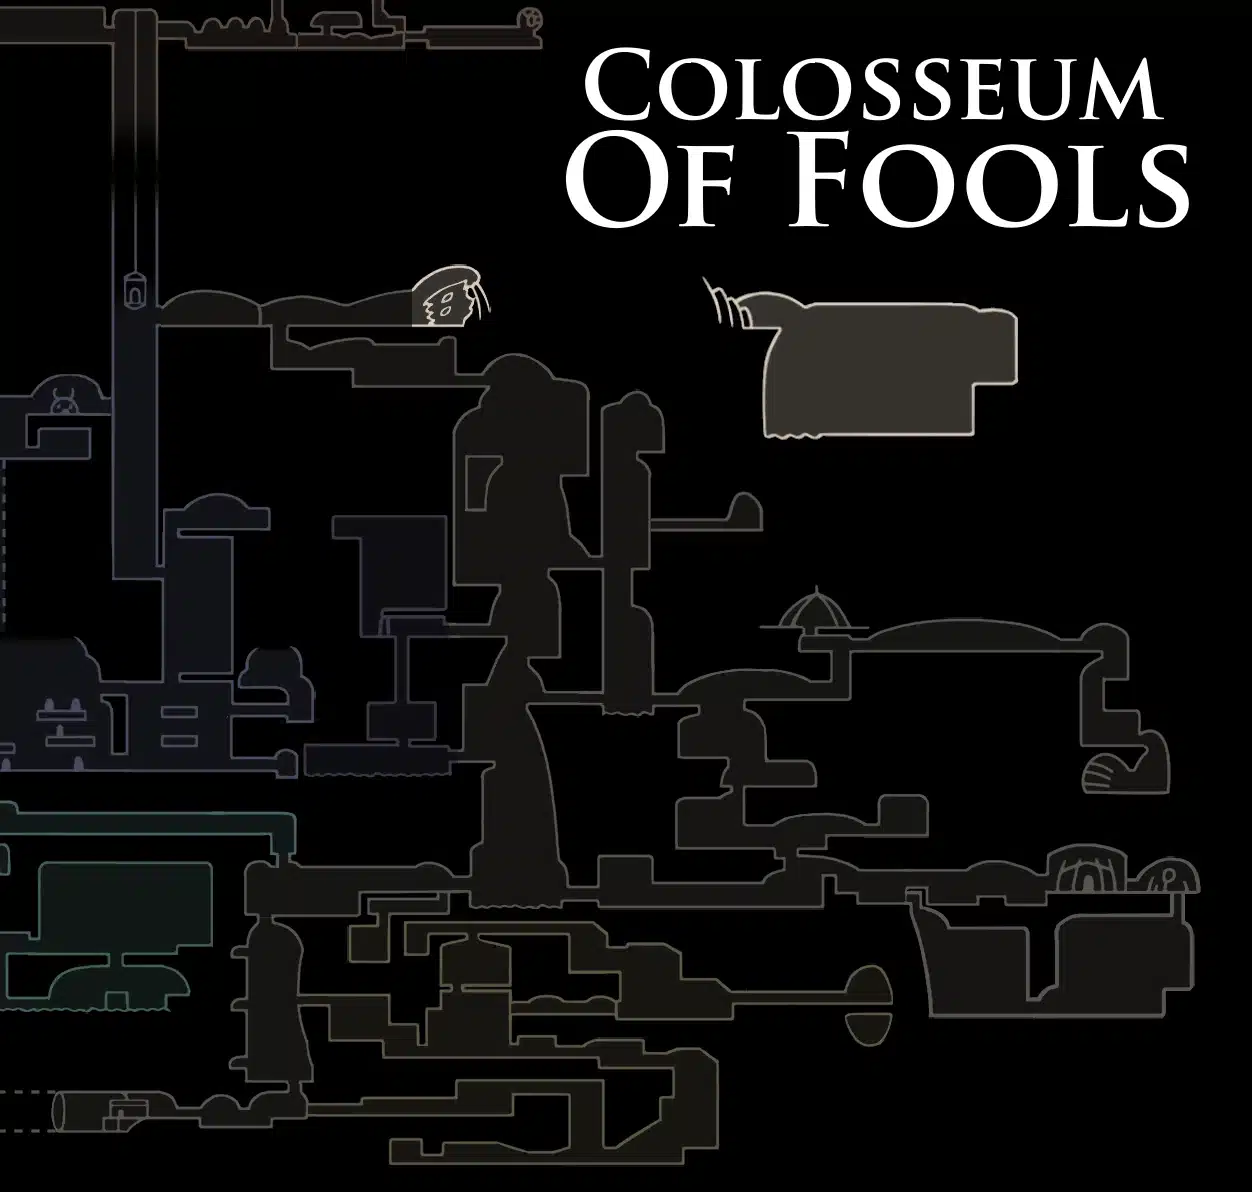 Colosseum of Fools + Joni's Blessing for the mid-air sustain combo and 24s Lifeblood Mask regen.
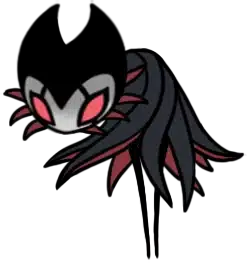 Active Focus builds; Focus heals reset the Hiveblood regen in progress, wasting the 10-second timer.
Hiveblood starts a 10-second regeneration timer the moment the Knight takes damage. Per the wiki, the timer counts down only while the Knight does not take additional damage; any new hit resets the timer to 10 seconds at the Knight's current HP. When the timer expires, the last Mask lost ticks back to full automatically.
According to the wiki, the regenerating Mask has a visual tell: a small honey blob appears on the empty Mask slot and grows larger over the 10 seconds. The blob fades into a full Mask at completion. Players can time aggressive engagements around the visible fill state.
The wiki specifies a hard limitation: Hiveblood only regenerates ONE Mask per trigger cycle, even on damage events that cost 2 Masks. Spike pits, explosions, and 2-Mask boss attacks (Watcher Knight slams, Markoth ring slam) all heal back only 1 Mask after the 10 seconds. The second lost Mask requires standard Focus or a second 10-second cycle.
Per the wiki, the regen pauses but does NOT cancel if the Knight rests at a Bench. The bench restores all Masks immediately, which means the Hiveblood timer becomes irrelevant on rest. The value of Hiveblood is mid-fight, not between fights.
| Stat | Value |
|---|---|
| Notch cost | 4 |
| Regen time | 10 seconds without taking damage |
| Masks per cycle | 1 (even on 2-Mask hits) |
| Trigger | Knight takes damage (loses at least 1 Mask) |
| Restriction | None mid-air; works while jumping, dashing, falling |
| Visual tell | Honey blob grows on empty Mask slot |
| Conflict with Focus | Focus heals END the regen in progress |
| Joni's Lifeblood Masks | Regenerates at 24 seconds (vs 10s for normal Masks) |
| Other Lifeblood Masks | Does NOT regenerate (Lifeblood Heart, Lifeblood Core, Cocoons) |
| Hive enemies | Pacified when equipped |
| Source | Hive Knight boss (Lifeblood DLC), below arena |
Per the wiki, Hiveblood is one of the three 4-notch Lifeblood DLC charms (alongside Lifeblood Core and Grimmchild). The 4-notch cost forces builds to drop a damage charm in exchange for the passive heal, which is why Hiveblood reads as a defensive utility pick rather than a Pantheon damage core.
Hiveblood drops after the Knight defeats Hive Knight in his arena. Per the wiki, the boss sits at the back of The Hive in Kingdom's Edge; the Hive itself is a Lifeblood DLC region added in the free 2018 Lifeblood update.
Per the wiki, Hive Knight is the source for the second Reserve Vessel Fragment in the Hive region (alongside another in Crystal Peak). Players grinding the Vessel Fragment chain visit this region multiple times. Equipping Hiveblood AFTER the first kill makes return trips trivial since Hive enemies turn passive.
Hiveblood is the only charm in the game that heals the Knight while airborne. Per the wiki, Focus requires the Knight to stand still on the ground for the 1.5-second channel; Shape of Unn allows slug-form movement during Focus but still requires ground contact. Hiveblood has neither restriction.
According to the wiki, this matters most in three contexts: Colosseum of Fools trials where the Knight is constantly jumping between platforms, platforming sequences in White Palace and Path of Pain where standing still on the ground means death, and aerial boss fights (Markoth, Marmu, Galien) where ground contact is rare.
The wiki notes Hiveblood is the canonical Colosseum sustain pick BECAUSE of this rule. The Trial of the Conqueror (third Colosseum trial) features 17 waves of enemies on a platform arena with no safe ground-stand moments; Quick Focus + Stalwart Shell builds struggle, while Hiveblood + mobility charms thrive.
Hiveblood is the only way to heal Joni's Blessing Lifeblood Masks. Per the wiki, the charm regenerates Joni's converted Lifeblood Masks at 24 seconds (instead of the standard 10 seconds for regular Masks). This makes Joni's + Hiveblood the only build that restores HP without ground-Focus.
According to the wiki, this is the unique exception to the general rule that "Lifeblood Masks cannot be Focus-healed." Hiveblood does not use Focus and is not subject to the rule; the slower 24-second regen is the trade-off.
The wiki specifies the exception applies ONLY to Joni's Blessing Lifeblood Masks. Lifeblood from Lifeblood Heart, Lifeblood Core, and Lifeblood Cocoons does NOT regenerate via Hiveblood; only the Joni's conversion type qualifies. The wiki distinguishes the two as "blessed Lifeblood" (Joni's) vs "Lifeblood pool" (everything else).
Per the wiki, the 8-notch combined cost (4 Joni's + 4 Hiveblood) leaves only 3 notches for damage and reach in the 11-notch budget. The build is high-HP and self-healing but light on offense; a single Quick Slash slot is the standard third charm.
The 11-notch Colosseum-of-Fools loadout is the canonical Hiveblood build. Per the wiki, the spread covers passive heal, mobility, damage, and a defensive filler in one budget.
Hiveblood (4 notches; 10s regen on last lost Mask) Fragile Heart (2 notches; +2 regenerable Masks for cushion)
 Sprintmaster (1 notch; +25% move speed)
 Quick Slash (3 notches; +54% nail speed)
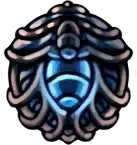 Lifeblood Heart (2 notches; +2 Lifeblood buffer at start of trials)
According to the wiki, this 12-notch loadout requires overcharm by 1; the player slots the smallest charm (Sprintmaster, 1 notch) last to minimize the vulnerability window. In actual play, the build clears Trial of the Conqueror cleanly because the mid-air heal keeps the Knight's mask count topped up between wave transitions. The trade is no boss-DPS burst; Hiveblood + Fragile Heart is a survival kit, not a speedkill build.
Hiveblood ties to the Hive Knight DLC boss, the Joni's Blessing Lifeblood exception, and the Colosseum sustain meta. These spokes pick up the threads.

Game data and screenshots adapted from hollowknight.fandom.com, used under CC BY-SA 3.0. Original content remains the property of the wiki contributors and Team Cherry.