
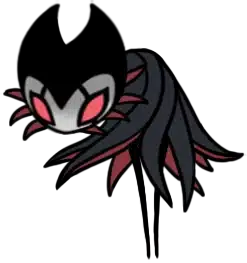
The Infected Mantis brother exiled by his sisters, settled in Queen's Gardens behind a Shade Gate, with the Cloth-sacrifice ending if her quest is completed.
The most surprising detail about Traitor Lord is who exiled him. Per the wiki, "the Traitor Lord was one of the leaders of the Mantis Tribe along with his sisters." Those sisters are the Mantis Lords the Knight fights in Mantis Village. The Traitor Lord and his followers "embraced the Infection to become stronger and were cast out from the Mantis Village" by his own family.
According to the wiki, the exile took the outcasts to Queen's Gardens. "They eventually found their way to and settled in the Queen's Gardens. They sought to take the gardens for themselves and chase the White Lady out of her refuge but were pushed back by her protector, the knight Dryya." The Mantis Traitors the Knight kills on the way to the boss are the residue of that failed coup.
The wiki specifies the daughter subplot. "The Traitor Lord's daughter died at a certain point. Her grave can be found in the Queen's Gardens just above the Stag Station, in a cave smothered by vines." Her lover was the Grey Mourner, an outsider the Traitor Lord disapproved of; the Grey Mourner's Delicate Flower quest delivers a flower to that grave.
This guide covers the Mantis-Tribe exile lore, the Shade Gate access requirement, every attack including the 500-HP Ground Pound gate and the 2-Mask Dancing Glaive trap, the Cloth-helps-and-dies sacrifice ending if her quest is followed, and the cleanest Shade-Cloak-and-Descending-Dark loadout.
The exiled Mantis brother, infected and pushed out by his Mantis Lord sisters. Upper Queen's Gardens, beyond a Shade Gate that requires Shade Cloak.
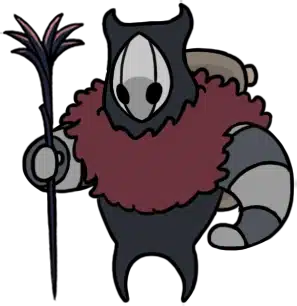 Sacrifice ending if Cloth's save chain was followed; she dies impaled but lands the killing blow.
 Access to the White Lady chamber and the second Kingsoul half.
Traitor Lord is a Mantis brother. Per the wiki, "the Traitor Lord was one of the leaders of the Mantis Tribe along with his sisters, and particularly resented the kingdom of Hallownest." The three Mantis Lords the Knight fights in Mantis Village are his sisters; the family ruled together until the Infection split them.
According to the wiki, the Infection was a choice. "At some point, he and his followers embraced the Infection to become stronger and were cast out from the Mantis Village." The Mantis Lords reject the Infection on principle; Traitor Lord embraced it. The Mantis Traitor enemies the Knight kills before the fight are the same outcasts who followed him.
The wiki specifies the political backstory. The Traitor Lord and his band "sought to take the gardens for themselves and chase the White Lady out of her refuge but were pushed back by her protector, the knight Dryya. Despite this failure, the Traitor Lord and the other Mantis outcasts still remained in the gardens, now guided only by a basic territorial and violent instinct." Dryya's corpse sits just outside the White Lady's chamber, killed by these same Mantis Traitors after Traitor Lord retreated.
Traitor Lord is locked behind Shade Cloak. Per the wiki, "the Traitor Lord is located in the upper section of the Queen's Gardens, beyond a Shade Gate." Shade Gates are passable only with the Shade Cloak upgrade from the Abyss; the standard Mothwing Cloak cannot cross them.
According to the wiki, the room is the upper border of the gardens' wilds. The entrance is a large building tucked into the canopy line, reached via the upper Queen's Gardens path past the White Palace transition. The Shade Gate sits one screen short of the arena; players who haven't reached the Abyss for Shade Cloak hit it and have to come back.
The wiki specifies the entrance cinematic. "When the Knight enters the place, they are first ambushed by Mantis Traitors, with the Traitor Lord jumping down from the ceiling thereafter." The falling animation itself deals two Masks of damage; the first hit of the fight is often the entrance, not an attack the Knight could dodge.
Per the wiki, "Traitor Lord's falling animation when entering the fight also deals two Masks of damage." In actual play, this is the most common 2-Mask-no-warning hit of the fight; stand on the far left of the arena before he lands so the falling hitbox misses, and the fight starts with a full bar instead of a 6-of-8 deficit.
Traitor Lord has four attacks plus contact damage. Per the wiki, "all attacks except the Dancing Glaive attack's projectiles deal two Masks of damage. Contact damage with Traitor Lord only deals one Mask of damage." The moveset is built around aggressive close-range pressure with two long-range punish options.
According to the wiki, range gates which attacks fire. "Dancing Glaive and Ground Pound are only used if the Knight strays too far from him. So long as the Knight is relatively close to Traitor Lord, he does not perform these attacks and only Dashes and Dives." Staying inside arm range simplifies the fight to two attacks; pulling back triggers the harder long-range pair.
The wiki specifies the 500-HP gate. Ground Pound unlocks at half HP and cannot fire before it. The attack scales the second half of the fight harder, because the only safe response is invulnerability; the shockwaves "span as tall as the ceiling of the arena," unlike most ground-wave attacks in the game.
Cloth joins the fight if her save chain was followed. Per the wiki, "if the Knight rescued Cloth from the Ancient Basin, she joins the fight before his appearance. In doing so, she is impaled by the Traitor Lord at the end of the fight. However, she also takes one last swipe with her club, bashing him on the head and leaving both dead."
According to the wiki, Cloth deals 15 damage per club hit during the fight. With a base 800 HP on Traitor Lord, her contribution is roughly a third of the total damage assuming she lands 15-20 hits before the impale animation triggers. In practice, she shortens the fight noticeably while taking pressure off the Knight's positioning.
The wiki specifies the death animation variants. "If the Traitor Lord dies from the Knight alone, the Infection bursts out of him and makes him explode. If Cloth kills him, less Infection bursts out and his husk collapses on the ground, his face and right horn shattered." The Cloth-kill is the canonical ending for her arc; players who save her twice (Ancient Basin plus Deepnest spider webs) get this version.
The cleanest Traitor Lord loadout pairs Shade Cloak mobility with reach. Per the wiki, "use Shade Cloak dashing to avoid every attack Traitor Lord has. Use the Desolate Dive / Descending Dark Spell for the invincibility frames. Strike with the Nail during those brief moments in between Traitor Lord's attacks."
 Mark of Pride (range matches Traitor Lord's claw reach)
 Quick Slash (more hits in the brief between-attack windows)
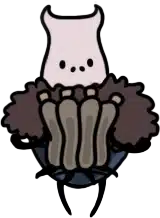 Shaman Stone (boosts Descending Dark damage on Ground Pound invuln casts)
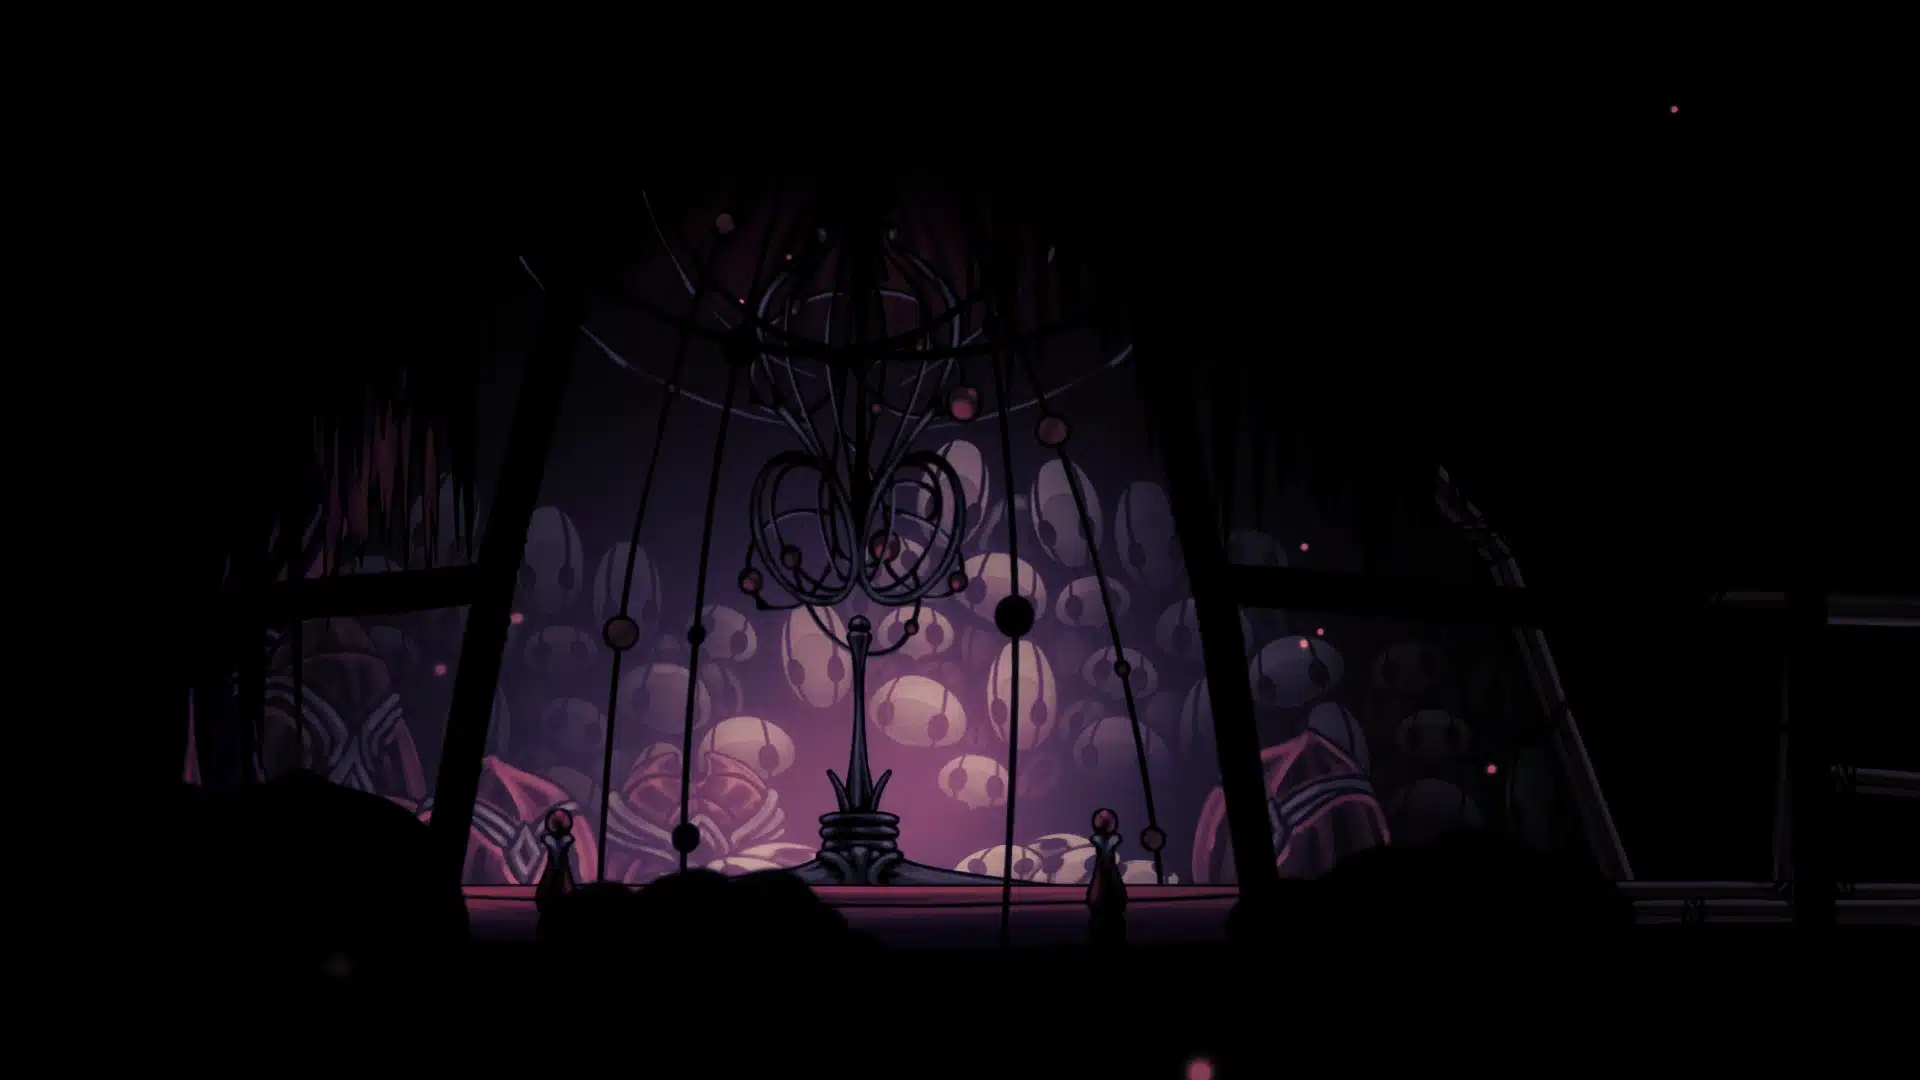 Quick Focus (faster heals during Dancing Glaive cooldowns)
 Shape of Unn (weave between Dancing Glaive scythes while healing) Sharp Shadow (extra dash distance for Dive evasion)
According to the wiki, the dive evasion tech is directional. "To avoid Traitor Lord's Dive attack move either left or right in the direction of the attack. Traitor Lord then dives over the Knight and misses them." Most players instinctively dodge backward; the wiki-correct response is forward into the attack vector so the dive lands behind the Knight.
The wiki specifies the Shape of Unn use case. "The Shape of Unn Charm can be used to weave between Traitor Lord's wind-scythes while healing." The one-Mask Dancing Glaive projectiles are the safest attack to absorb if the heal cannot complete; two-Mask attacks should be dodged outright.
Traitor Lord ties to the Mantis Tribe split, the Cloth save chain, and the White Lady chamber access. These spokes pick up the threads.

Game data and screenshots adapted from hollowknight.fandom.com, used under CC BY-SA 3.0. Original content remains the property of the wiki contributors and Team Cherry.