
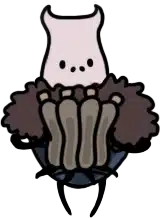
The hardest platforming gauntlet in Hollow Knight. Hidden behind an invisible wall in White Palace, ends with a 2-Kingsmould fight and a Pale King cutscene.
The Path of Pain is widely considered the hardest content in Hollow Knight. Per the wiki, the hidden sub-area sits inside White Palace, behind an invisible breakable wall in the first buzz-saw room on the second floor. The corridor opens silently with one nail swing; players who miss the wall never know the Path exists.
According to the wiki, the gauntlet is built from several platforming sections separated by Soul Totems shaped like the Hollow Knight. The totems refill SOUL infinitely, which matters because the spell-cast mid-air stall (Howling Wraiths) is the canonical trick for clearing the worst gaps. Buzz-saws, spike beds, and wall thorns line every section.
The wiki notes that the final reward is a cutscene, not an item. Completing the Path unlocks a cinematic of the Pale King and a younger version of the Hollow Knight, plus the Seal of Binding journal entry. There is no charm, no ability, no permanent upgrade.
This guide covers the invisible-wall entry, the section-by-section platforming arc, the nail-bounce-for-height trick that clears the buzz-saw gaps, the 2-Kingsmould pit fight, and the one-time-only completion rule that locks the Path forever after the cinematic plays.
Hidden platforming gauntlet; White Palace sub-area, hardest content in the game. White Palace, 2F; invisible breakable wall in the first buzz-saw room.
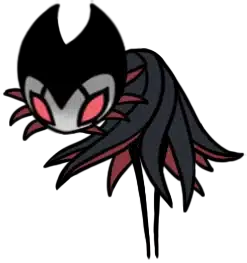 2 Kingsmoulds in a thorn-walled pit, end-of-gauntlet boss.
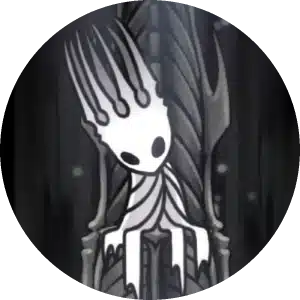 Pale King cutscene plus Seal of Binding journal entry, no item.
The Path of Pain is an optional, one-time platforming sub-area inside White Palace. Per the wiki, the area is "very difficult and requires excessive aerial and wall movement, as well as requiring the Nail to be swung towards most of the mobile hazards to gain height."
According to the wiki, the Path is not required for any ending, achievement, or charm collection. The Knight can complete the true ending, Embrace the Void, and all 112% content without ever touching the Path. It is purely a skill-check side challenge.
The wiki notes the area was added in the Lifeblood update and serves as the game’s self-aware final platforming test. The sections combine every traversal mechanic the Knight has earned by White Palace (wall-cling, double-jump, dash, nail-bounce, mid-air cast) and demand near-frame-perfect execution.
The Path of Pain entrance sits in the first buzz-saw room on the second floor of White Palace, above the central atrium. Per the wiki, the wall that hides the passage is invisible until the Knight strikes it; one nail swing breaks the seal and the corridor opens.
The invisible wall is the single most-missed mechanic in Hollow Knight. Per the wiki, players who walk past it never trigger the Path; the room renders normally with no visual clue. Most players only find the entry through external guides or accidental sword swings against the wall.
Per the wiki, the Path is split into several sections, each separated by an infinitely-usable Soul Totem shaped like the Hollow Knight. Each totem refills the SOUL meter fully on contact; the design assumes spell casts are part of the traversal rotation.
According to the wiki, the progression escalates section by section. Early sections focus on wall-cling chains and dash timing; middle sections add buzz-saws on both sides; late sections layer all three (wall, dash, saw) in overlapping cycles where the Knight must commit inputs blind against incoming hazards.
The wiki specifies the final section before the Kingsmould pit is the hardest. Thorns line both walls; saw blades occupy most of the corridor; the Knight has to nail-bounce off the saws (down-slash to gain height) to clear the verticals. Falling resets to the last Soul Totem, not back to the entry; the Path is forgiving on retries within a section but punishing within each.
Soul Totems infinitely refill SOUL on contact, which means the Knight can cast Howling Wraiths at every totem to practice the mid-air stall before committing to a hard jump. Use the totem as both a checkpoint and a spell-reserve top-up for the next section.
Per the wiki, the Path of Pain requires the Knight to chain four movement abilities in tight sequences. The Knight needs Monarch Wings, Mantis Claw, and Mothwing Cloak (or Shade Cloak) before attempting the Path; the route assumes all three.
According to the wiki, swinging the nail downward onto a buzz-saw or thorn block bounces the Knight upward. The bounce gives roughly the same height as a fresh jump without consuming wings or the air-dash. This is the canonical way to clear vertical sections when wings have already been used.
The wiki specifies that wall-cling refreshes the Monarch Wings double-jump charge. Players chain jump + wings + cling + wings + cling in the long vertical shafts; the technique is the canonical Path of Pain traversal.
Per the wiki, casting Howling Wraiths or Abyss Shriek in mid-air stalls the Knight in place for the cast duration. The stall gives ~0.4 seconds of extra air time to clear a saw cycle. Soul Totem refills make the spell-stall economically viable across the whole Path.
The wiki notes that Shade Cloak dashes through projectiles and saw-spawn pellets. Players use the i-frame dash for the final saw cycles where the standard Mothwing Cloak dash lacks the immunity window.
After the final platforming section, the Knight falls down a pit into a room surrounded by thorns on the walls. Per the wiki, two Kingsmoulds spawn simultaneously; the Knight has to defeat both to clear the Path.
According to the wiki, Kingsmoulds are the same enemies that guard the Pale King’s corpse in the central White Palace chamber. They fly, swing oversized swords, and leave thorn projectiles on impact. Two of them in a thorn-walled pit limits the Knight’s movement considerably; mistimed dodges usually end on the wall thorns.
The wiki specifies that Kingsmoulds die quickly to spell damage. Two Shade Soul casts plus a Howling Wraiths volley kill each with a fresh SOUL pool. The Soul Totem just before the pit tops the Knight up; spell-build loadouts clear the fight in 15-20 seconds.
Completing the Path triggers a cutscene of the Pale King and a younger Hollow Knight. Per the wiki, the scene reveals the father-son moment that precedes the Vessel’s sealing; no spoken dialogue, but the implication lands hard for players who have pieced together the broader Hallownest story.
According to the wiki, the mechanical reward is the Seal of Binding journal entry. The entry fills out the Hunter’s Journal and confirms the lore of the final Vessel sealing; no charm, no ability, no Kingsoul fragment.
The wiki specifies the Path becomes inaccessible after completion. The Knight wakes up directly outside the entry wall; the wall cannot be broken again on the same save. Players who want to replay the Path have to start a new save file.
Per the wiki, the optimal Path of Pain loadout balances traversal and damage. Pure traversal minimizes deaths on platforming; damage-heavy loadouts clear the Kingsmould fight faster. The 11-notch consensus is split into movement plus emergency spell sustain.
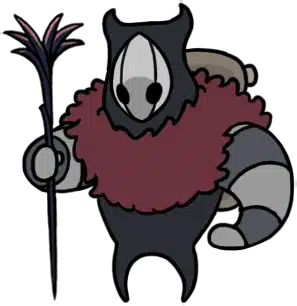 Dashmaster (33% faster dash recharge; 2 notches)
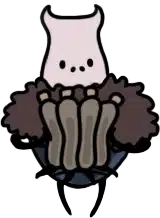 Sharp Shadow (longer Shade Cloak dash; 2 notches)
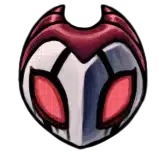 Hiveblood (10s passive Mask regen; 4 notches)
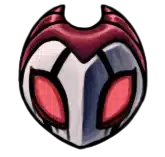 Void Heart (free passive; 0 notches)
According to the wiki, Dashmaster + Sharp Shadow + Hiveblood is the most-recommended Path loadout. Dashmaster speeds the rapid-dash sections; Sharp Shadow extends Shade Cloak range for the hazard-pass dashes; Hiveblood regenerates the last lost Mask in the air, which matters when the Knight cannot reach a bench to Focus heal.
The wiki notes that Quick Slash and Mark of Pride pair into the Kingsmould fight loadout. Players who run a pure-spell build for the pit use Shaman Stone + Spell Twister + Soul Catcher + Soul Eater (11 notches) and rely on the in-section Soul Totems for practice runs before the final pit drop.
The Path of Pain ties to the White Palace it hides inside, the Pale King cinematic reward, the Kingsoul charm completion chain, the Pure Vessel Dream rematch, and the charm-loadout directory. These spokes pick up the threads.
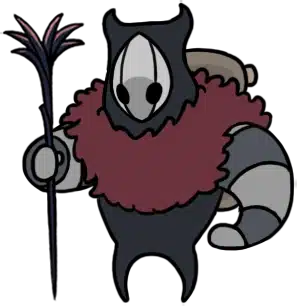
Game data and screenshots adapted from hollowknight.fandom.com, used under CC BY-SA 3.0. Original content remains the property of the wiki contributors and Team Cherry.