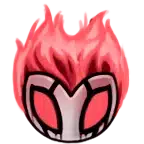
A Mask is one unit of the Knight's health. The Knight starts with 5, climbs to 9 through Mask Shards, and can stack more on top with Lifeblood and charms.
In Hollow Knight, a Mask is one point of health. The row of white Masks in the top-left corner of the screen is the Knight's life bar, and each enemy hit or hazard knocks off one Mask. Per the wiki, the Knight begins the game with five Masks and can raise that ceiling to nine. Lose them all and the Knight dies, dropping a Shade that holds the run's Geo until it is reclaimed.
The base health pool grows through Mask Shards. According to the wiki, four Mask Shards combine into one Ancient Mask, which adds a single permanent Mask, and there are sixteen Shards in the game. Four full Masks on top of the starting five is how the Knight reaches the nine-Mask cap, not counting the temporary bonuses that charms and Lifeblood stack above it.
Healing a Mask is its own system. The Knight spends SOUL through Focus, channeling energy gathered by striking enemies with the Nail. One Focus refills one Mask for 33 SOUL, a third of the standard SOUL vessel. In practice the Mask count, the SOUL meter, and the charm loadout are a single survival equation: more Masks buy mistakes, but only SOUL and benches put them back.
This guide explains how the Mask health system works, how Mask Shards push the cap to nine, how Lifeblood adds blue Masks on top, which charms change the Mask count or the way the Knight heals, and the cleanest ways to refill Masks mid-run. For the full sixteen Shard pickup route, the dedicated locations page handles every map marker.
A Mask is one point of the Knight's health, shown top-left. 5 Masks, rising to 9 once all 16 Mask Shards are collected.
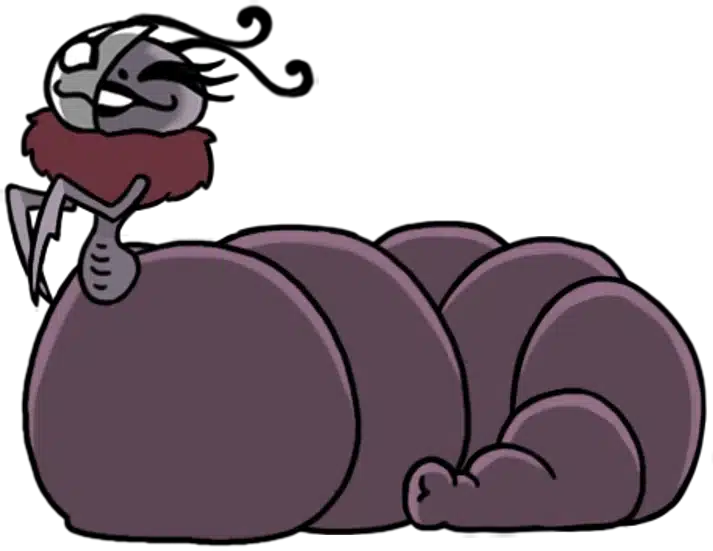 Focus spends 33 SOUL to refill one Mask; benches and Hot Springs refill all of them.
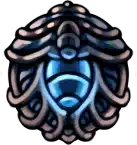 Lifeblood and Heart charms stack temporary or bonus Masks above the cap.
Per the wiki, "health is represented by Masks" and is displayed in the upper-left corner of the screen. Each Mask is one hit. When an enemy strikes the Knight or a hazard connects, one Mask shatters and the Knight is briefly invulnerable during the recoil. There is no partial damage in the base game: most hits cost exactly one Mask, while a few late-game hazards and bosses cost two.
The Knight starts every save with five Masks. According to the wiki, that base count can be raised to nine through Mask Shards, and pushed higher still through temporary Lifeblood Masks and a handful of Charms. When every Mask is gone the Knight dies on the spot, leaving a Shade at the death location that holds the lost Geo and half the SOUL capacity until the Knight defeats it.
The Mask count is tied to the SOUL economy. SOUL is gathered by hitting enemies with the Nail or by harvesting it from SOUL sources, and  charms like Soul Catcher raise how much each hit returns. That SOUL is the only currency that refills Masks during a fight, which is why aggressive Nail trades and careful healing windows decide most boss attempts.
Treat the top-left Mask row as your real boss timer. In actual play, the cleanest habit is to bank a full SOUL vessel before a boss arena so the first lost Mask can be refilled the moment a safe window opens, rather than fighting from a half-empty meter.
The base Mask cap moves only through Mask Shards. Per the wiki, "4 Mask Shards are needed to complete an Ancient Mask, which increases the Knight's health by one." There are sixteen Shards in the game, so the full set adds four permanent Masks and carries the Knight from the starting five up to the nine-Mask cap.
| Milestone | Shards collected | Total Masks |
|---|---|---|
| Start of game | 0 | 5 |
| First Ancient Mask | 4 | 6 |
| Second Ancient Mask | 8 | 7 |
| Third Ancient Mask | 12 | 8 |
| All Shards | 16 | 9 |
According to the wiki, the Shards are scattered across Hallownest as purchases, hidden pickups, Colosseum rewards, and quest payouts. A few come from shops in Dirtmouth and the Pilgrim's Way, others are tucked behind breakable walls or platforming rooms, and the last stretch usually requires movement upgrades like Mantis Claw and Monarch Wings to reach. The full route is worth tracking on a checklist because a half-finished Ancient Mask gives no benefit until the fourth Shard lands.
Because three collected Shards still leave the Knight at the same Mask count, the smart play is finishing one Ancient Mask at a time rather than spreading pickups thin. For the complete sixteen-Shard map with every cost and prerequisite, the Mask Shards locations guide lists each one in collection order.
Lifeblood Masks are the blue overshield that sits on top of the white Mask row. Per the wiki, Lifeblood Masks are temporary: each blue Mask absorbs one hit and is gone for the rest of the run once broken, and Focus cannot refill them. They are extra hit points layered above the cap, not part of the permanent health pool.
The most reliable source is a Lifeblood Cocoon. According to the wiki, breaking one of these blue sacs grants a short burst of Lifeblood Masks, and several Cocoons sit just outside tough arenas as a built-in cushion. Lifeseed enemies in the Abyss and a few specific rooms drop Lifeblood as well, which is why some players farm a stack of blue Masks right before a hard boss.
Charms turn Lifeblood from a lucky find into a plan. Lifeblood Heart grants two blue Masks when the Knight rests or enters a room, and Lifeblood Core grants a larger batch under the right conditions. The trade-off is that blue Masks vanish on the first hit each and never come back without a fresh source, so they reward a clean no-damage opening more than a grind-it-out fight.
Several Charms reshape either the Mask count or the way the Knight heals them. The table pairs each with its effect and the catch that comes with it.
| Charm | Effect on Masks | Trade-off |
|---|---|---|
| Fragile / Unbreakable Heart | +2 permanent Masks | Fragile version breaks on death |
| Lifeblood Heart | +2 temporary blue Masks | Lost on first hit, no Focus refill |
| Joni's Blessing | Converts all Masks to Lifeblood, +40% health | Focus can no longer heal |
| Hiveblood | Regenerates the last lost Mask | Slow, white Masks only |
| Quick / Deep Focus | Changes Focus speed or amount | Notch cost, SOUL still spent |
Per the wiki, the Fragile Heart 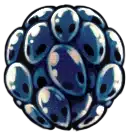 charm adds two Masks to the maximum while equipped. The Fragile version shatters when the Knight dies and has to be repaired for Geo, while the Unbreakable upgrade is permanent and never breaks. Two extra Masks is the single biggest flat health boost in the game and a staple of survival loadouts.
According to the wiki, Joni's Blessing 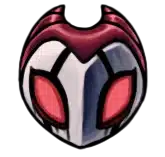 converts every white Mask into a Lifeblood Mask and raises total health by roughly 40 percent. The cost is steep: with Joni's active the Knight cannot Focus to heal at all, since Focus only restores white Masks. It turns the run into a no-heal challenge with a thick health bar.
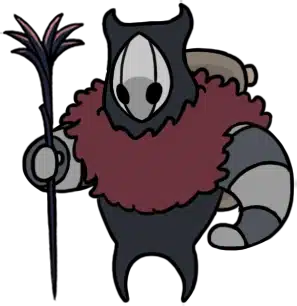
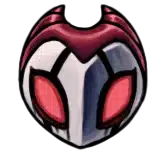
Per the wiki, Hiveblood  slowly regenerates the most recently lost white Mask after a few seconds without taking damage, which suits patient, evasive play. Deep Focus
  doubles the Masks restored per Focus but slows the channel, while
  Quick Focus speeds the channel up instead. They pull in opposite directions, so the choice depends on whether the Knight has long safe windows or short ones.
White Masks come back three ways, and each fits a different moment in a run. Picking the right one mid-fight is often the difference between a clear and a Shade run.
 Sitting on a bench refills every Mask and the full SOUL meter instantly. Benches double as save points and the place to swap Charms, so routing between them is the backbone of safe exploration.
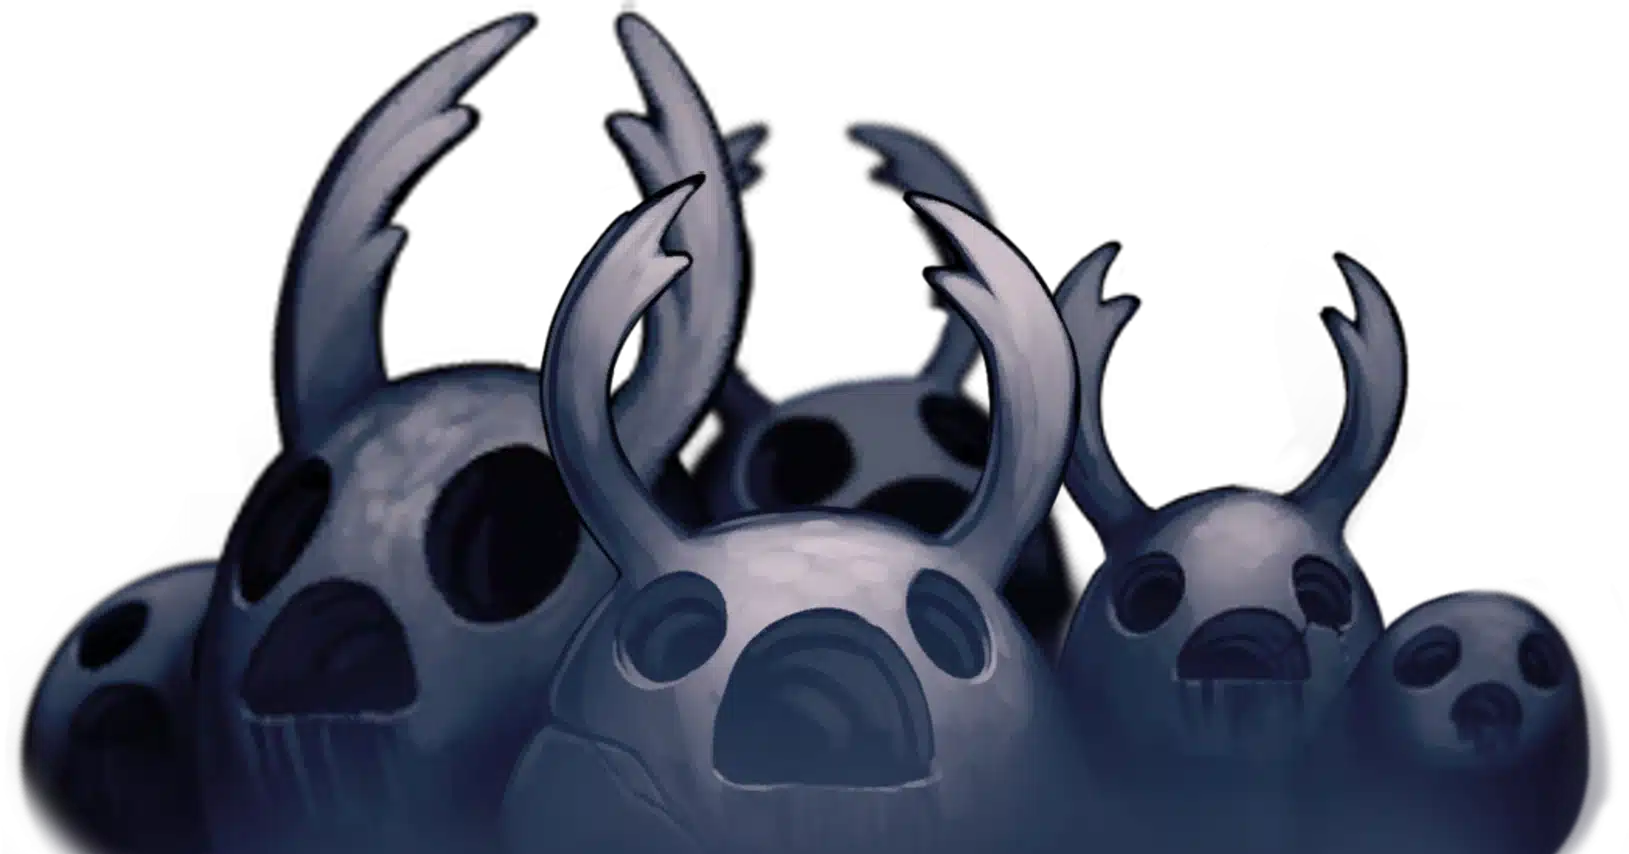 According to the wiki, standing in a Hot Spring steadily refills Masks and SOUL and even tops up Lifeblood Masks. The spring inside the Pleasure House is the best-known one and a free full heal whenever the Knight passes through.
SOUL management ties it all together. Because Focus is the only heal that works in an arena, every boss attempt is partly a question of whether the Knight can land enough Nail hits to bank the SOUL for a refill before the next big swing lands. Charms that raise SOUL gain or lower Focus cost feed directly back into the Mask economy.
The Mask system touches charms, healing, and Hallownest collectibles. These spokes pick up the connected threads.
Game data and screenshots adapted from hollowknight.fandom.com, used under CC BY-SA 3.0. Original content remains the property of the wiki contributors and Team Cherry.