
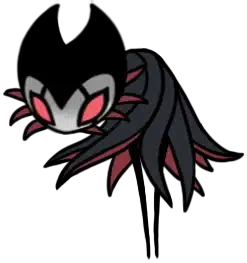
A laughing Void creature in the Tower of Love who jars up every missing Grub in Hallownest and gates the Collector's Map.
The Collector's joy is the unsettling part. Per the wiki, "while always displaying a joyous demeanour, the Collector is only concerned with the preservation of other creatures." The laughter the Knight hears outside the padded door of the Tower of Love is not taunting; it is a creature genuinely delighted by its collection of jarred bugs.
According to the wiki, "the Collector is a Void creature. It lives hidden away in the locked Tower of Love along with a large collection of bugs from throughout Hallownest that are preserved, both dead and alive, in glass jars." It is the Knight's kin in the literal sense: another Void-born entity, just one that built a hobby instead of a quest.
The wiki specifies the Grub connection. "It trapped the Grubs from the Forgotten Crossroads colony and recorded their location throughout Hallownest on a map. Despite its attention to the Grubs, it only has three within its tower." The remaining 43 Grubs the Knight rescues across the game are the ones the Collector mapped but never got to.
This guide covers the Tower of Love access path, the Love Key from Queen's Gardens, the laughter-outside-the-door entry cue, the two-phase Jar / Grab / Hop moveset, the Phase 2 350-damage gate, the Collector's Map reward that completes the Grub hunt, and the Void-dissolves-to-black-liquid death cinematic.
A Void creature that jars bugs throughout Hallownest and laughs.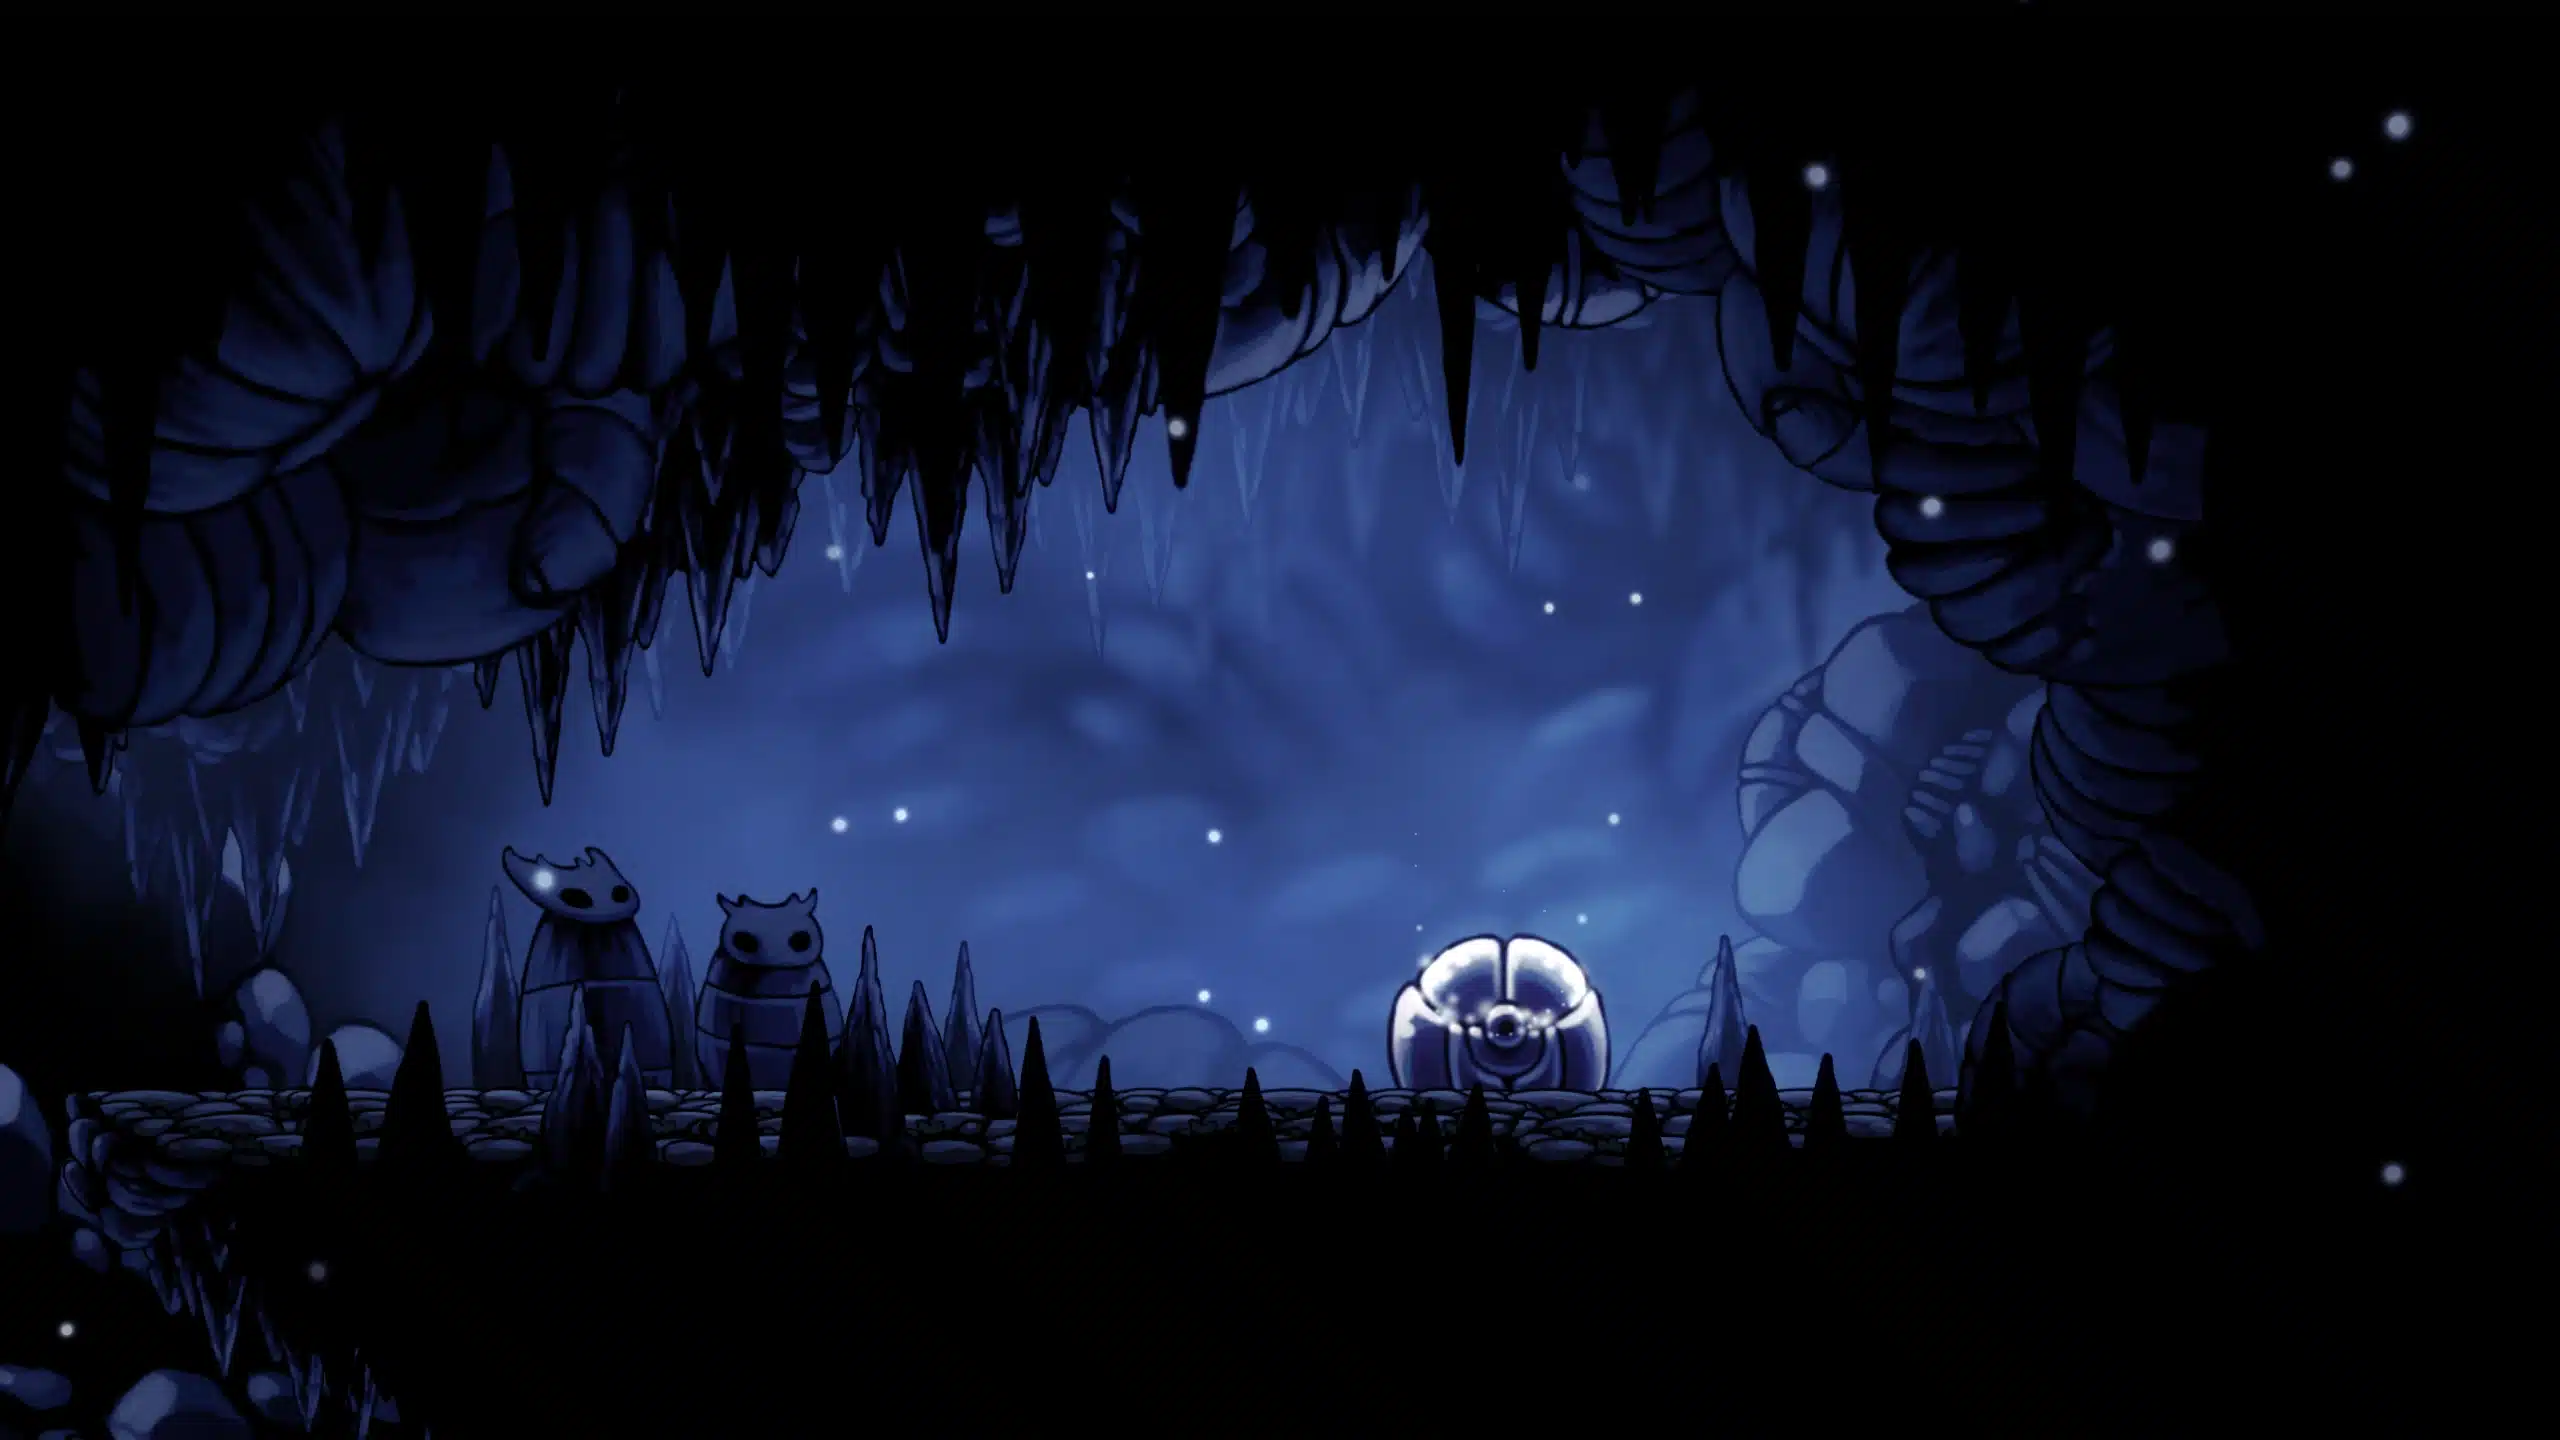 The Tower of Love, locked behind the Love Key from Queen's Gardens.
 The Collector's Map, marks every unrescued Grub location on purchased Maps.
 350 damage flips Phase 1 to Phase 2 with faster Jar drops and 6 maximum summons.
The Collector is a Void-born creature with a hobby. Per the wiki, "the Collector is a Void creature. It lives hidden away in the locked Tower of Love along with a large collection of bugs from throughout Hallownest that are preserved, both dead and alive, in glass jars." The black-liquid evaporation on death confirms the Void origin shared with the Knight and the Hollow Knight.
According to the wiki, "while always displaying a joyous demeanour, the Collector is only concerned with the preservation of other creatures." The laughter and grabbing motions read as menacing in the fight, but the in-fiction motive is preservation. Every jarred bug is alive (when possible) and recorded; the Tower is a private museum.
The wiki notes the Love Key connection. "It also has a connection to the previous owner of the key to the tower, a Hallownest aristocrat bug that can be found dead deep within the Queen's Gardens." The corpse holding the Love Key in Queen's Gardens is the previous Tower owner; the Collector is what came after.
The Tower is locked behind the Love Key. Per the wiki, "the Collector is locked in the Tower of Love, which can only be accessed using the Love Key, found in the Queen's Gardens. The Tower can only be entered from the deep lift shaft between Kingdom's Edge and the City of Tears."
According to the wiki, the entrance sequence is audible before visible. "The Collector can be heard laughing outside the padded door of the Tower of Love. When reaching its room, it leaps from the ceiling to attack the Knight." The padded door and the laughter are the canonical "this is the fight" cue; entering the room starts the encounter immediately with no warning.
The wiki specifies the death penalty quirk. "If the Knight dies to the Collector, their Shade can be found trapped in a glass jar before entering the fight arena." The Shade-jar is the only NPC-jar interaction in the game; breaking the jar releases the Shade for the standard reclaim. In actual play, this is the only boss where the Shade pickup requires breaking glass.
The Collector has three named attacks plus a health-based phase shift. Per the wiki, the moveset is built around enemy spawns rather than direct damage:
According to the wiki, the phase rules tie directly to summon count. "When 4 or more summons are alive, the Collector stops dropping jars. After taking 350 damage, the Collector transitions into Phase 2, increasing the speed of the Jar attack."
| Phase | HP range | Jars per drop | Max summons |
|---|---|---|---|
| 1 | Full to 350 damage taken | 1-2 jars | 5 alive |
| 2 | After 350 damage taken | 2-3 jars | 6 alive |
Per the wiki, jars shatter in flight when hit by any attack and the spawn is cancelled. In actual play, this is the cleanest summon-control lever in the fight: aerial jar hits with Cyclone Slash or Shade Soul kill the spawn before the floor impact. Keeping the summon count under 4 also keeps the Jar attack firing, which keeps the Collector's aerial pattern predictable.
The strongest Collector loadout pairs minion-killing AOE with reach. Cyclone Slash plus Shade Soul handles falling jars cleanly, and Mark of Pride matches the Collector's hop reposition reach.
Quick Slash (faster nail strikes for breaking falling jars in flight)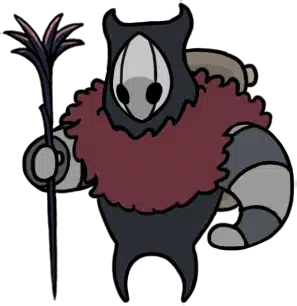 Mark of Pride (range to nail the Collector during Hop windows)
 Shaman Stone (boosts Shade Soul size for multi-jar pops)
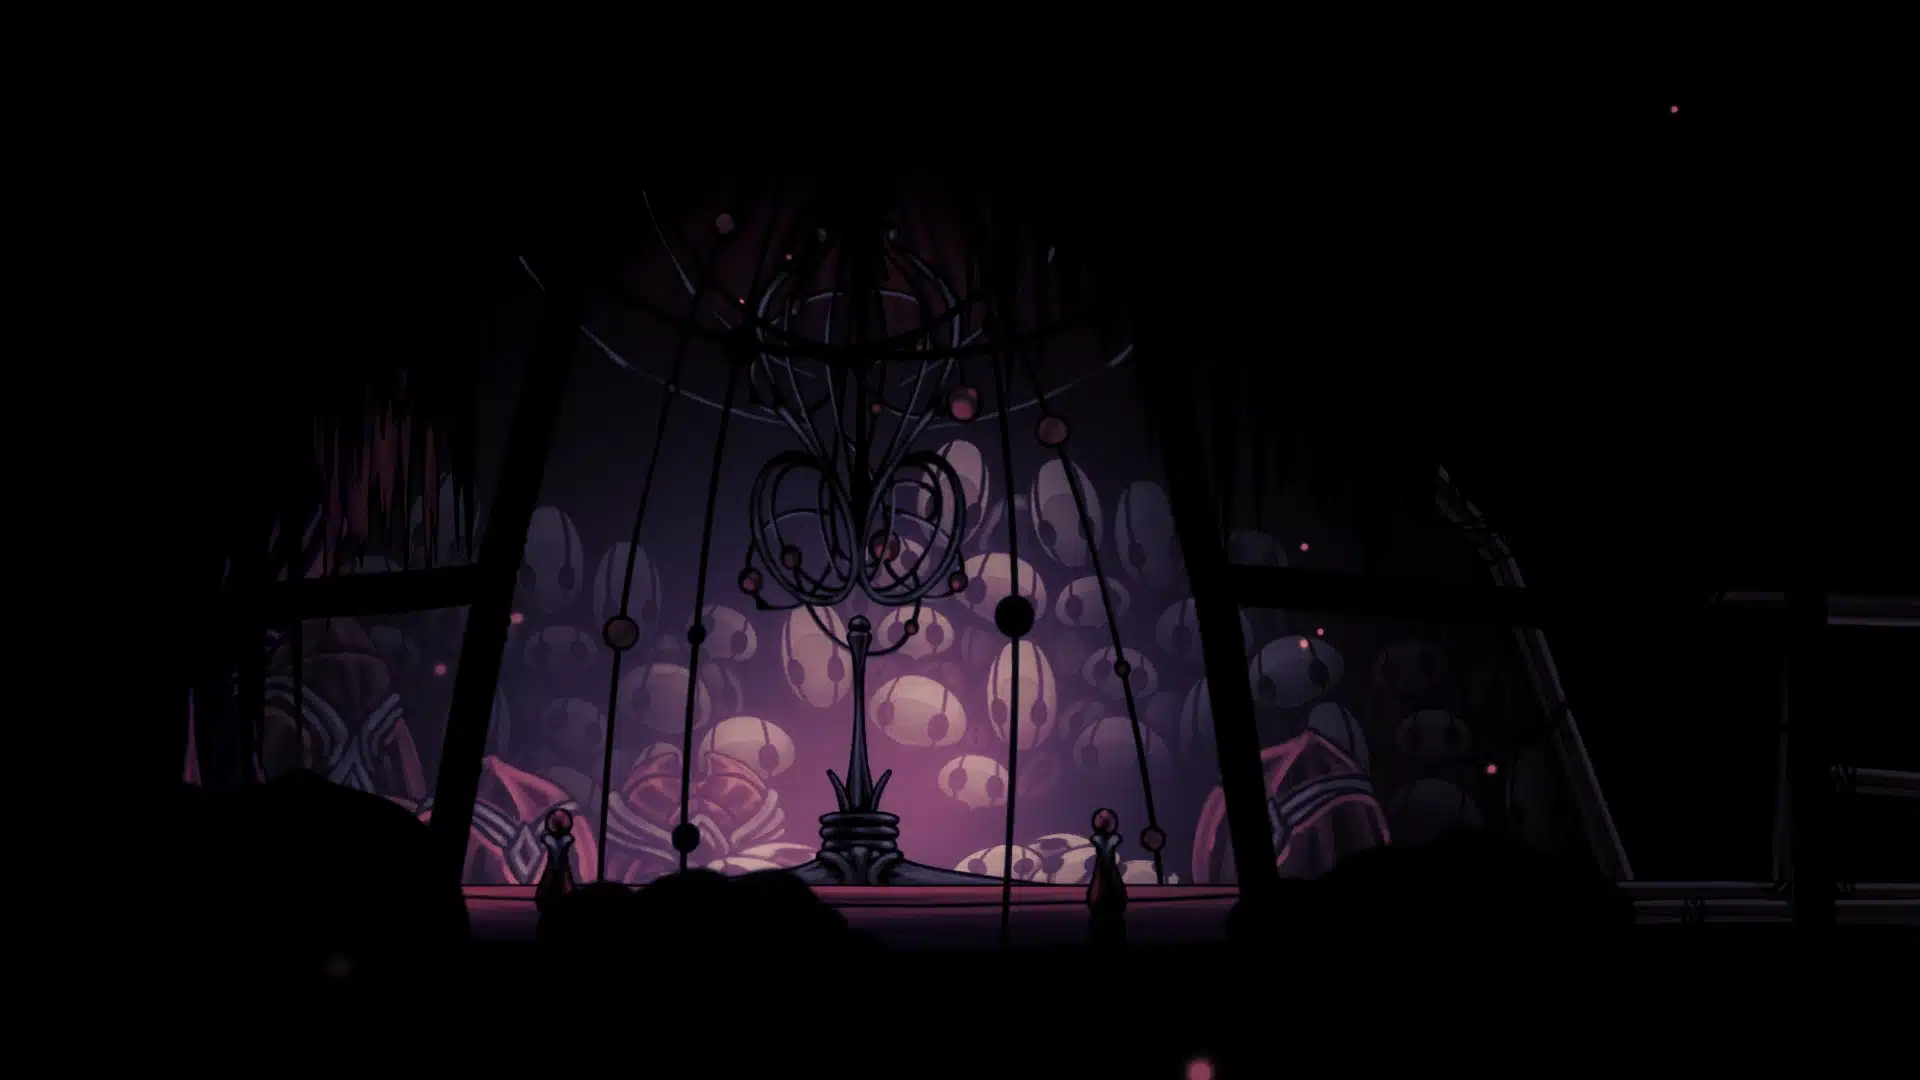 Soul Catcher (extra Soul per nail hit for sustain Shade Soul casts)
 Quick Focus (faster heals while the Collector is in the air)
 Stalwart Shell (longer invuln on contact-damage hits from grouped summons)
According to the wiki, the summon cap is the pressure-management lever. Letting summons stack to four pauses Jar drops, but the Knight then deals with four ground enemies plus the Collector's Grab and Hop. Keeping the count low keeps the boss in predictable Jar cycles; this is generally the cleaner pattern.
The wiki notes the Phase 2 acceleration. After 350 damage taken, "the Collector transitions into Phase 2, increasing the speed of the Jar attack." In practice, the Phase 2 jar drop rate combined with the higher summon cap means crowd control fails unless the Knight banks Soul for Shade Soul casts on the falling jar columns.
The Collector drops the Collector's Map. Per the wiki, the Map "records their location throughout Hallownest on a map." Equipping it after the fight marks every unrescued Grub on the standard maps purchased from Cornifer.
According to the wiki, this is the practical halfway point of the full 46-Grub Grubfather hunt. Before the Collector kill, the Grub locations are memory-or-guide work; after the kill, the standard in-game map shows the remaining ones with a Grub icon. Players going for the Metamorphosis achievement at 46 Grubs typically schedule the Collector kill before the final Grub sweep.
The wiki specifies the death scene. "When defeated, Void particles erupt from the Collector as its final laugh dies out. Then its body falls to the floor and collapses: dissolving into a black liquid which quickly evaporates." The dissolution visual is the cleanest confirmation of the Void-creature lore; the Knight's own death animation uses the same black-liquid effect.
The Collector ties to the Love Key questline, the 46-Grub Grubfather chain, and the Void origin lore. These spokes pick up the threads.
Game data and screenshots adapted from hollowknight.fandom.com, used under CC BY-SA 3.0. Original content remains the property of the wiki contributors and Team Cherry.